Skip to content
Daily Bag of Goodness
About Jamie
Nutrition Resources
Recipes
Work with me
Paleo Recipes
August 28, 2024
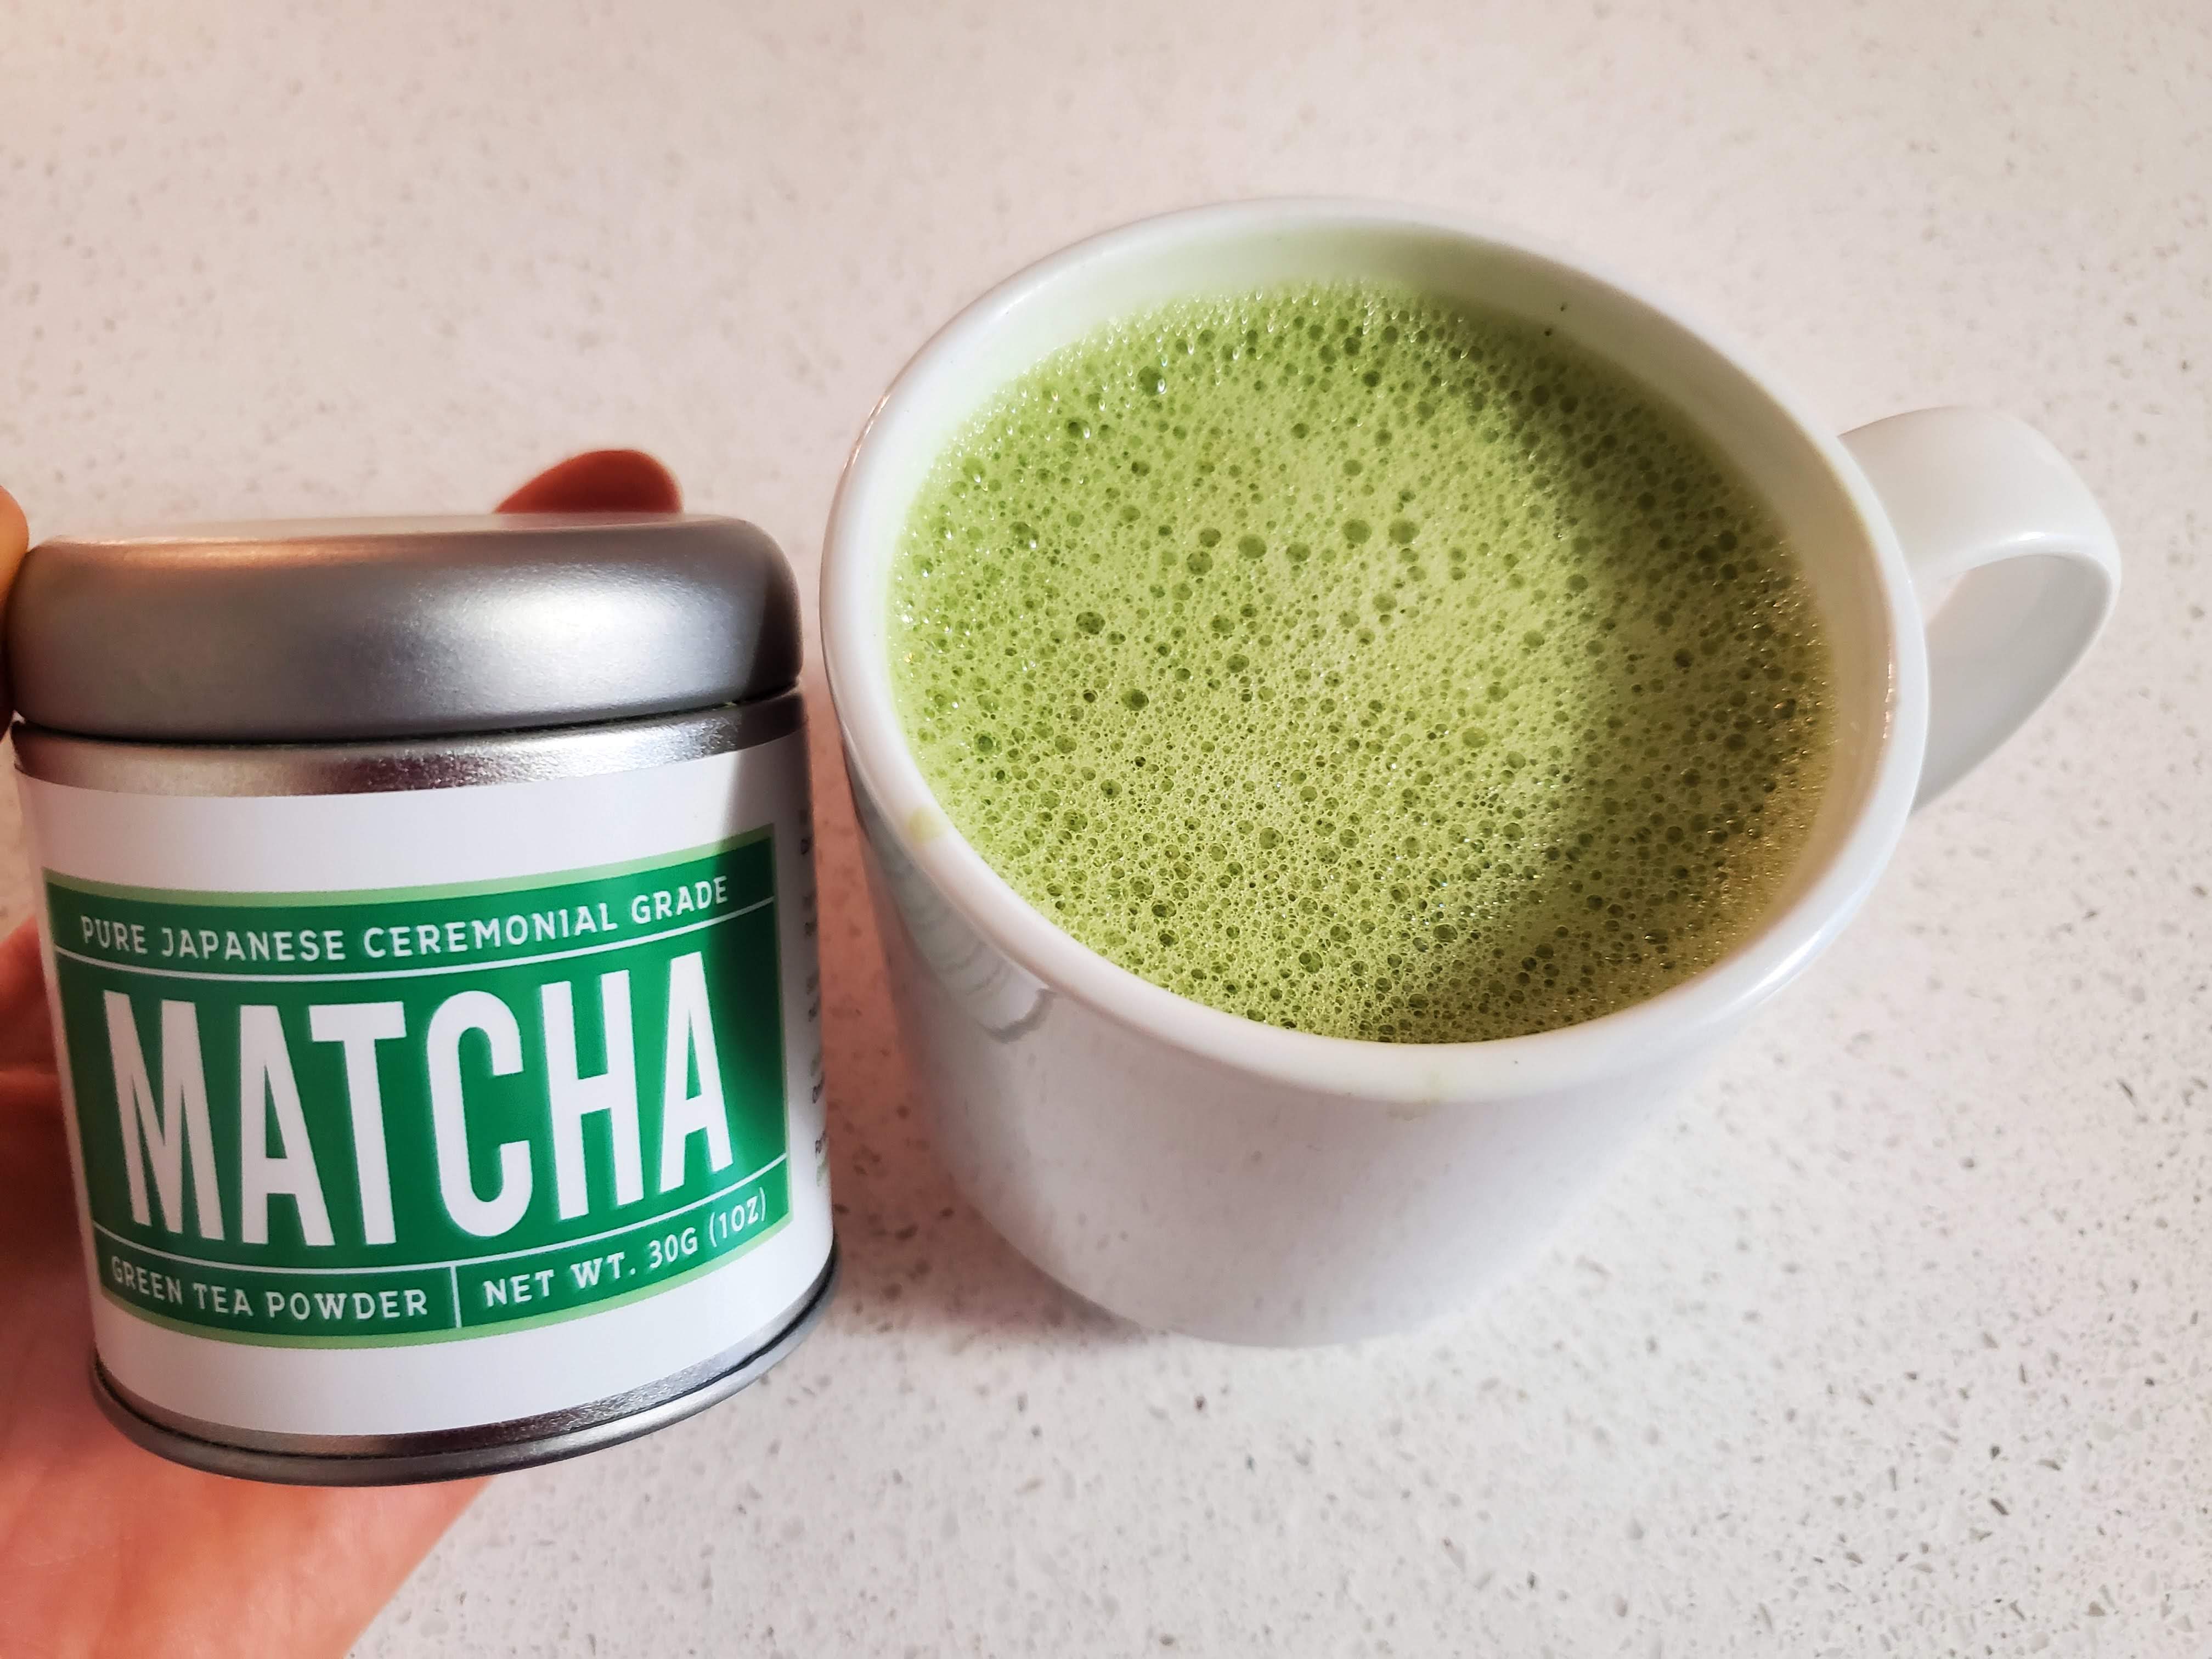
Morning Matcha
August 14, 2024
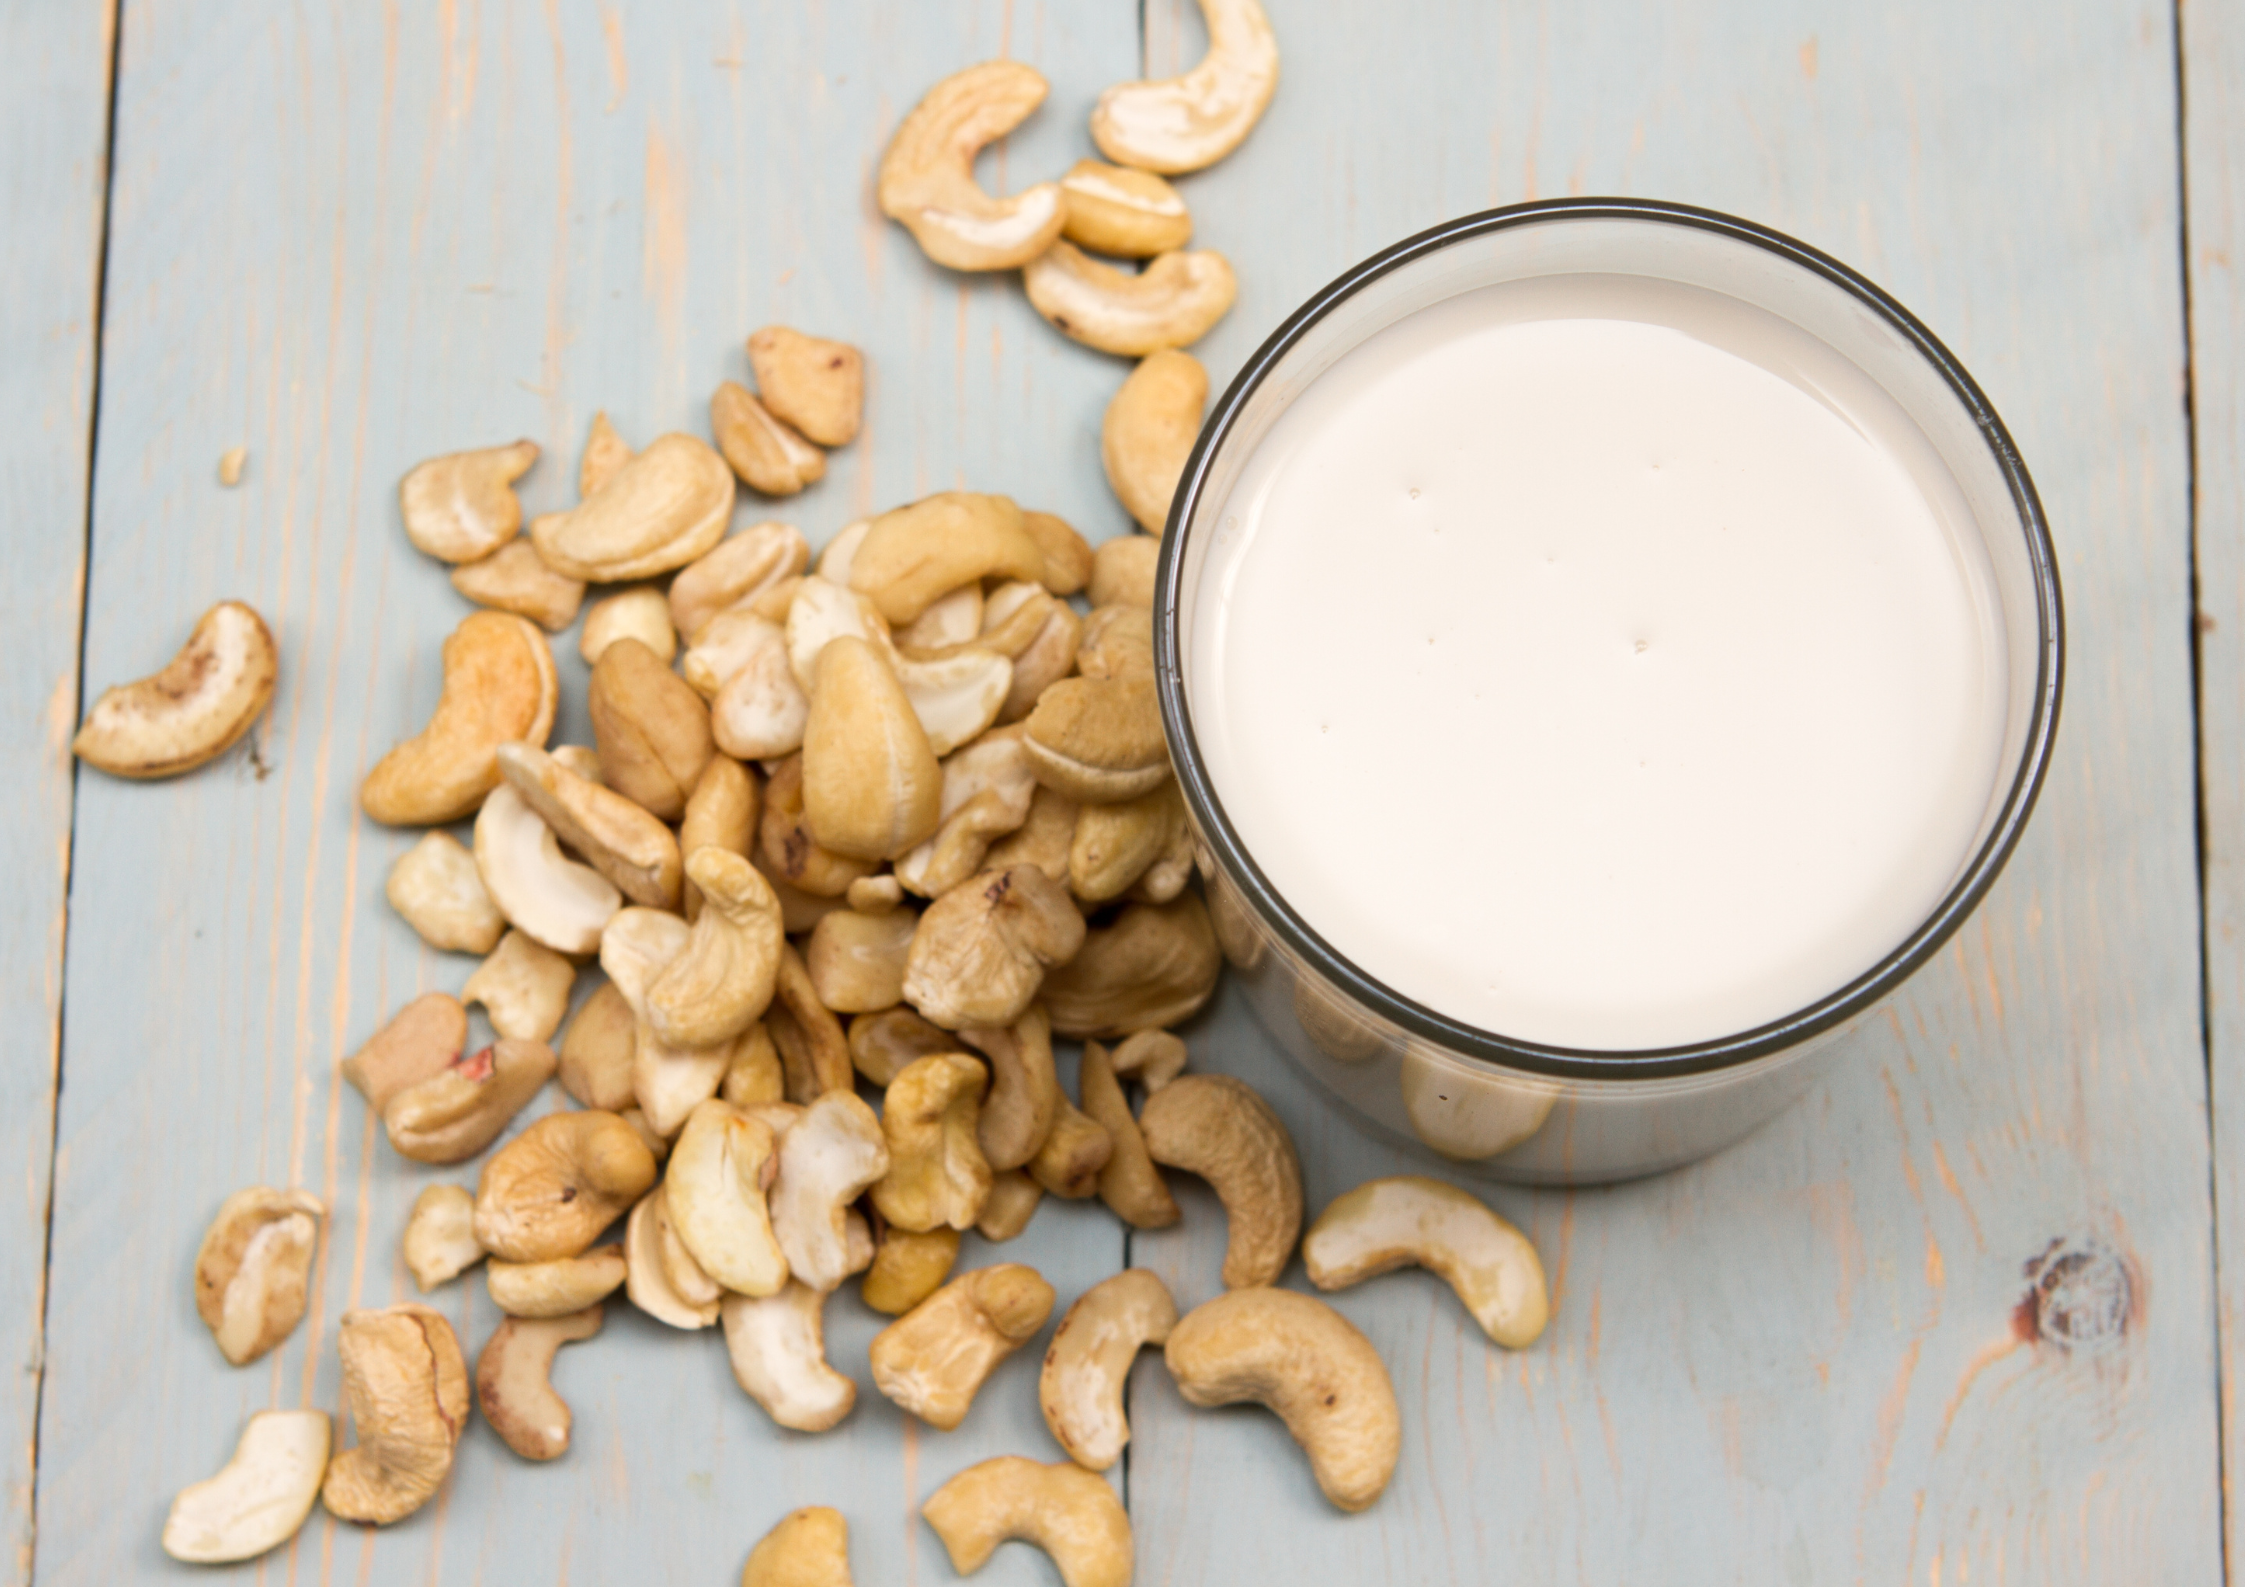
Homemade Cashew Milk
July 24, 2024
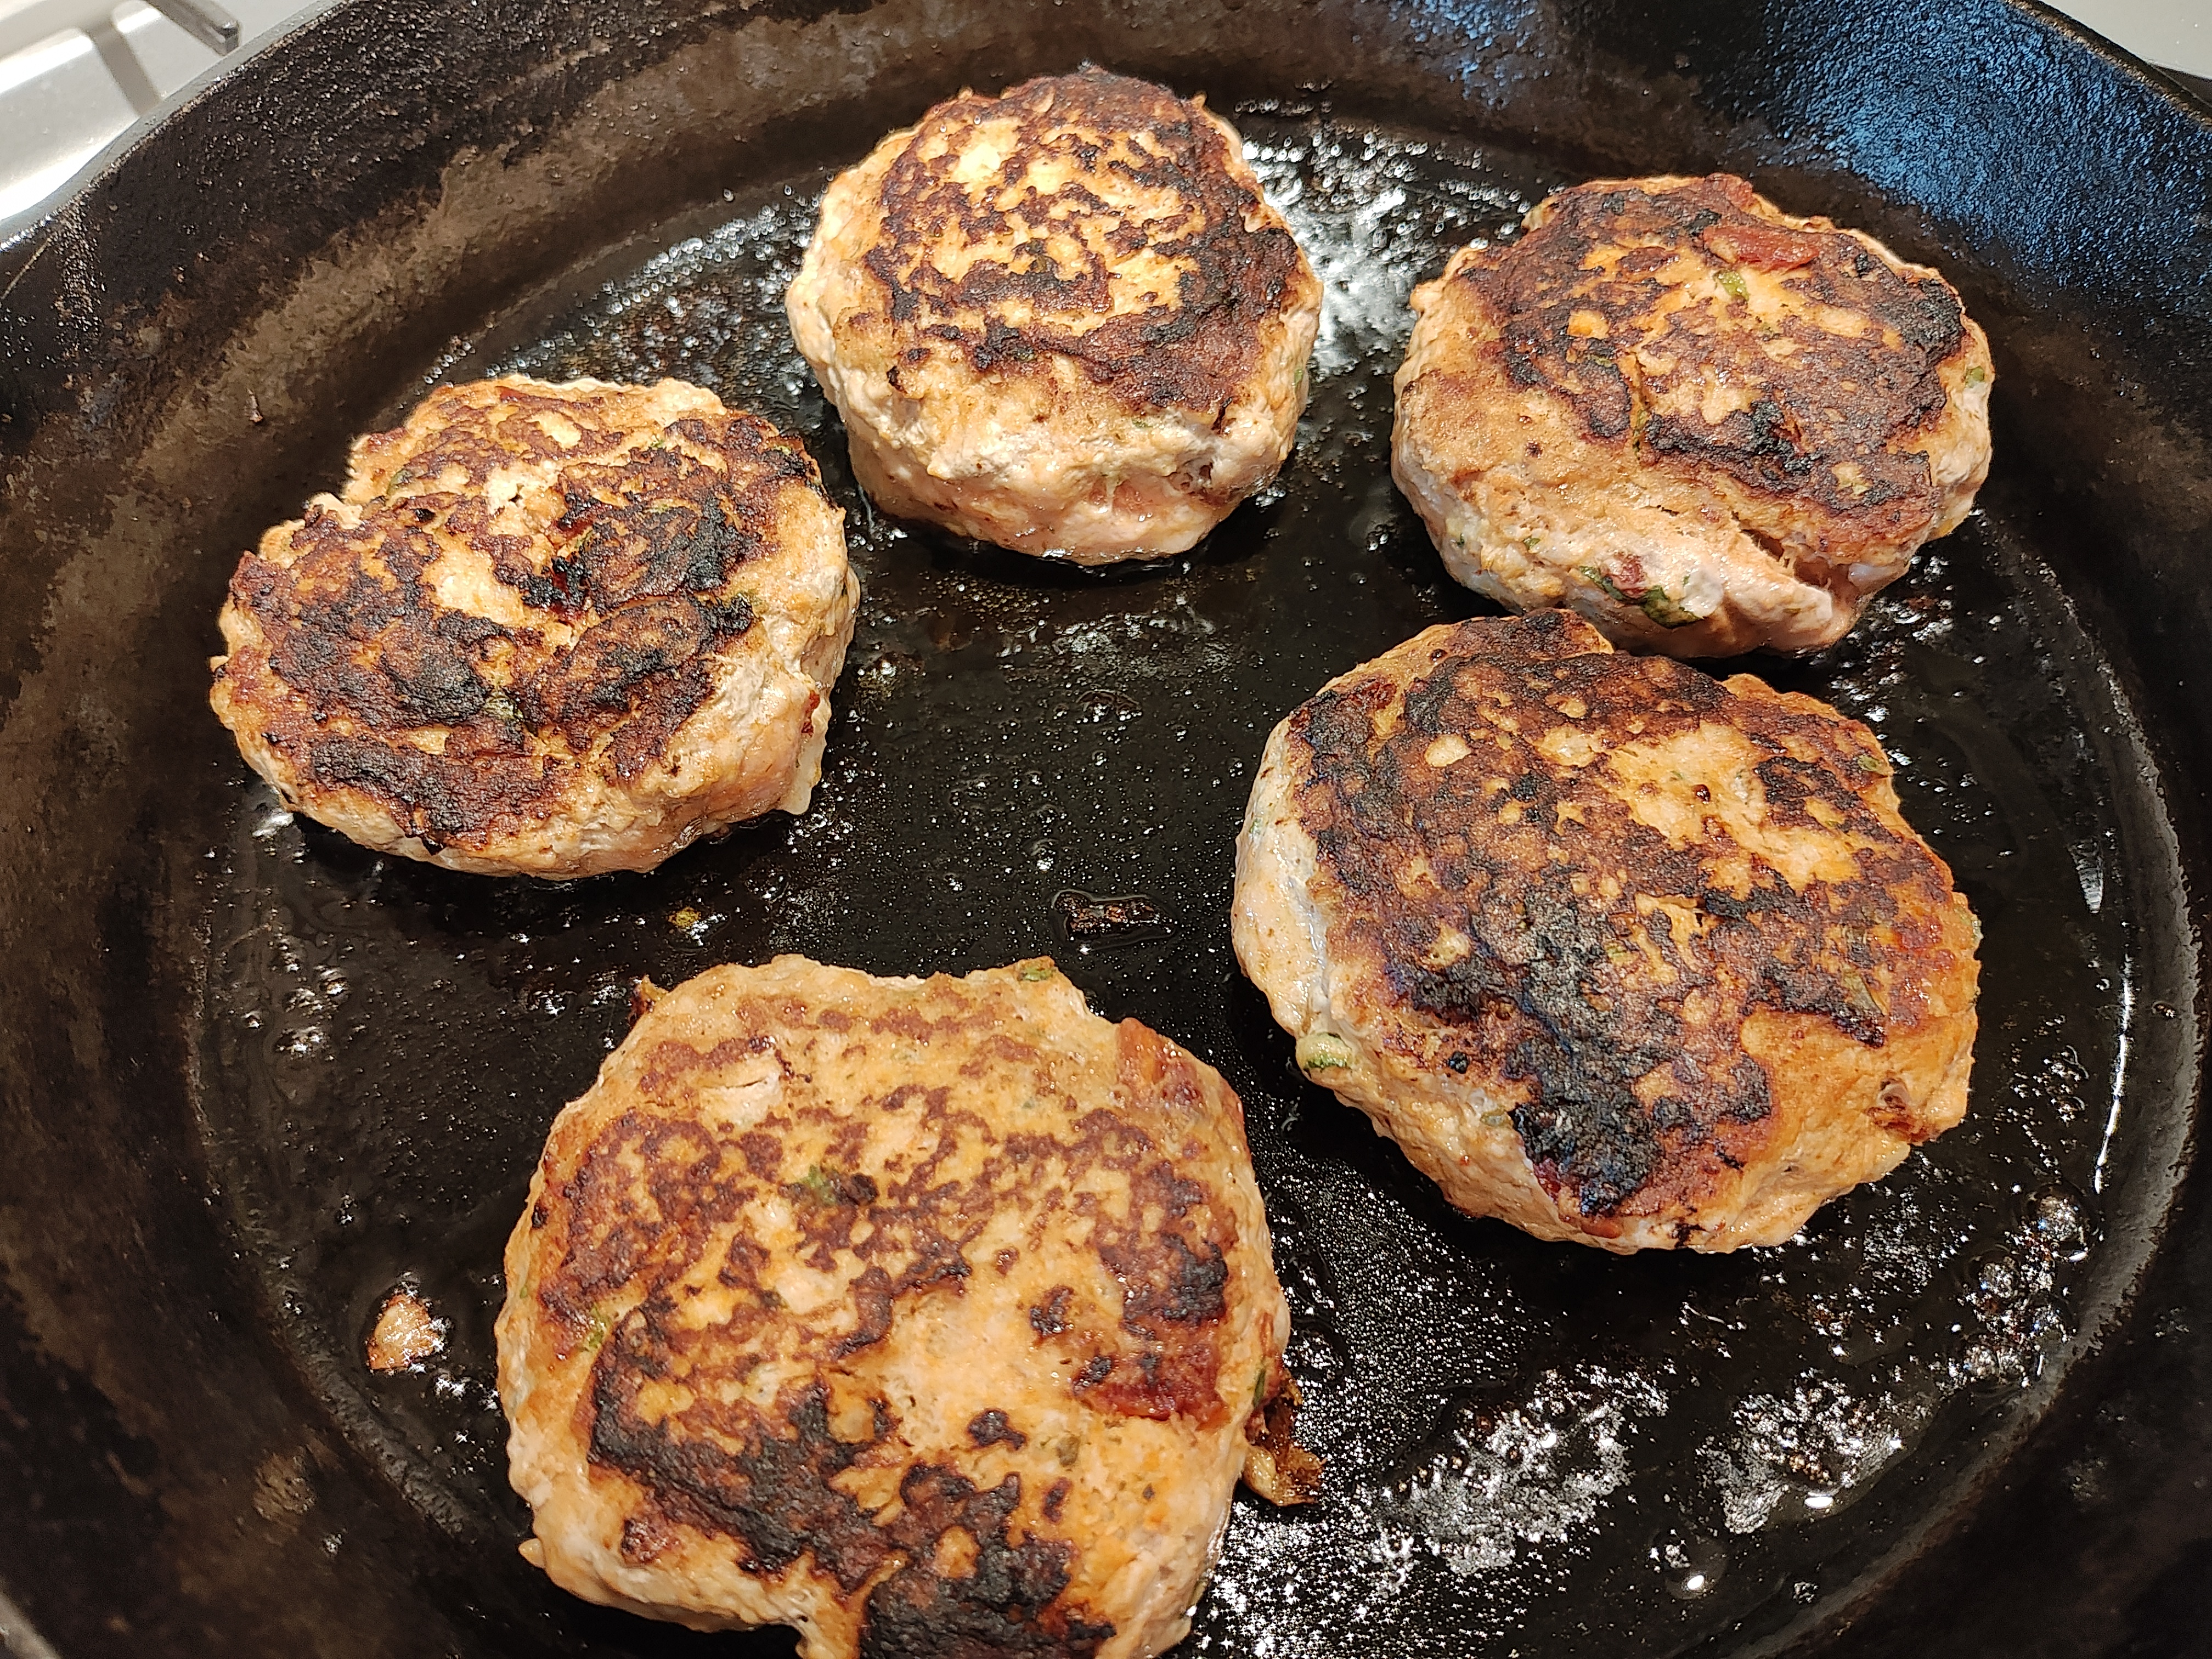
Turkey Pizza Burgers
February 20, 2024
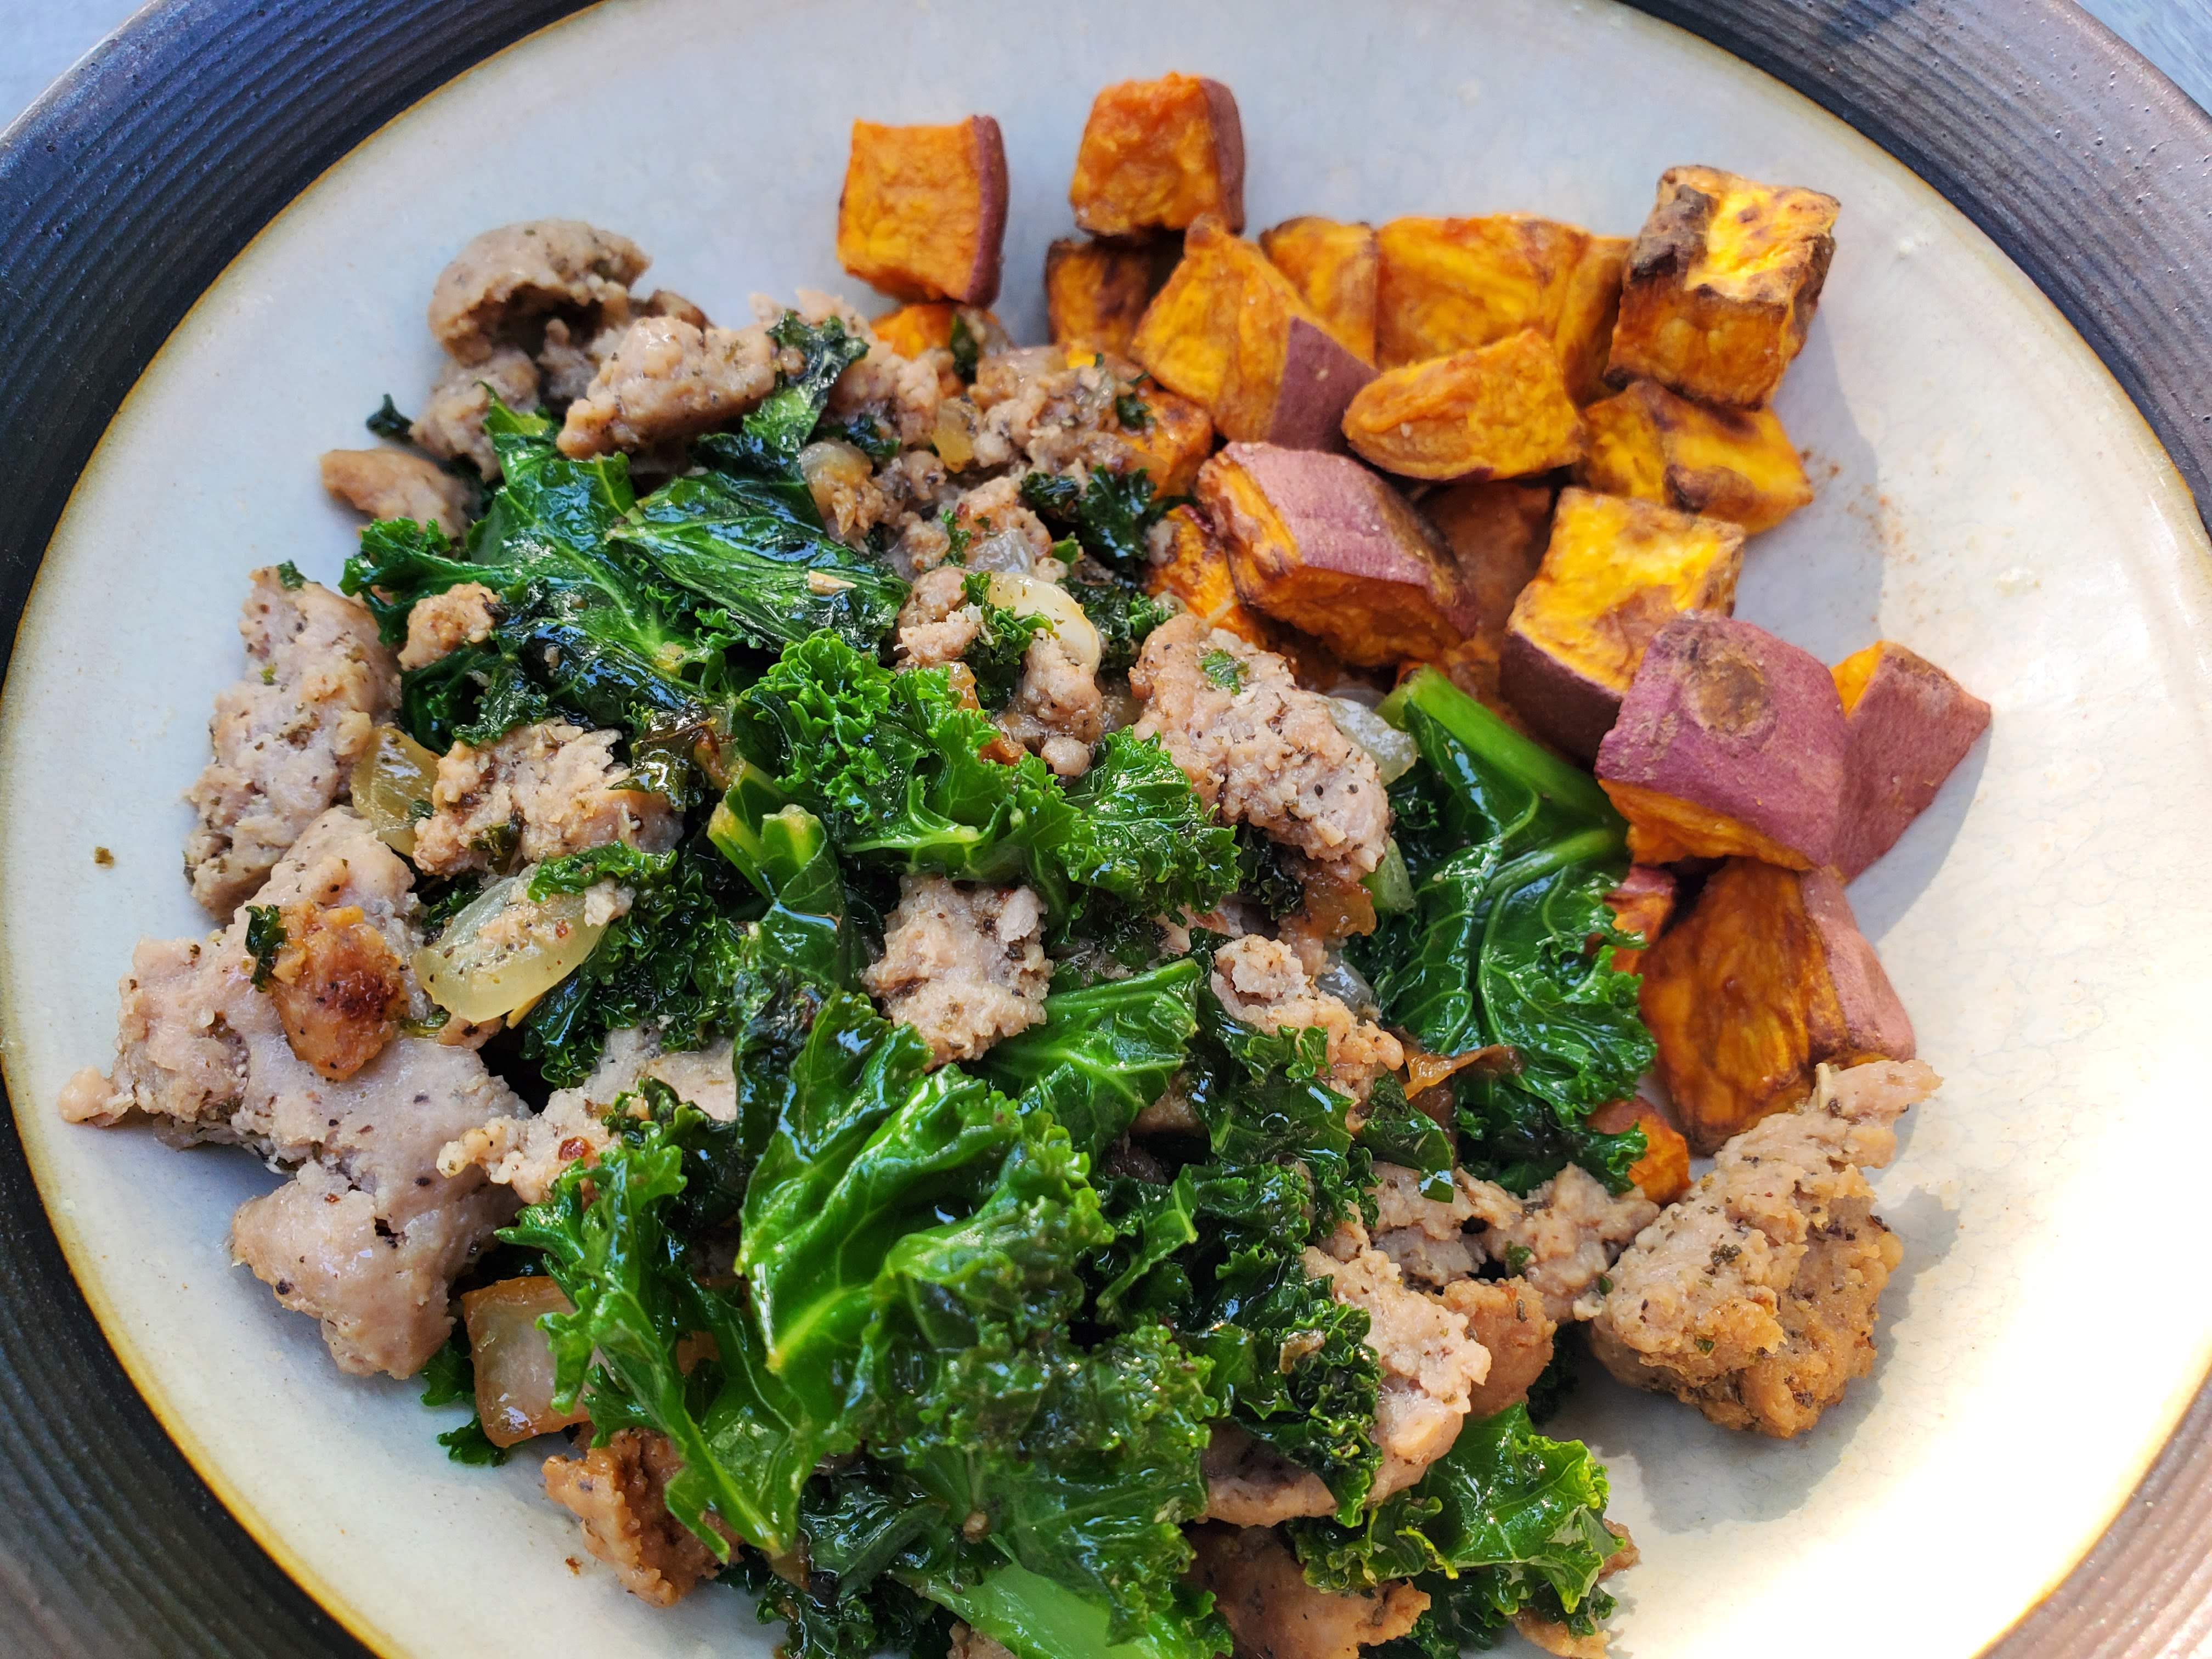
Easy Protein-Rich Breakfast Hash
March 14, 2021
Dairy Free Yogurt Thats Better Than Store-Bought!
Next Page
→
Loading Comments...
Write a Comment...
Email (Required)
Name (Required)
Website