Resources

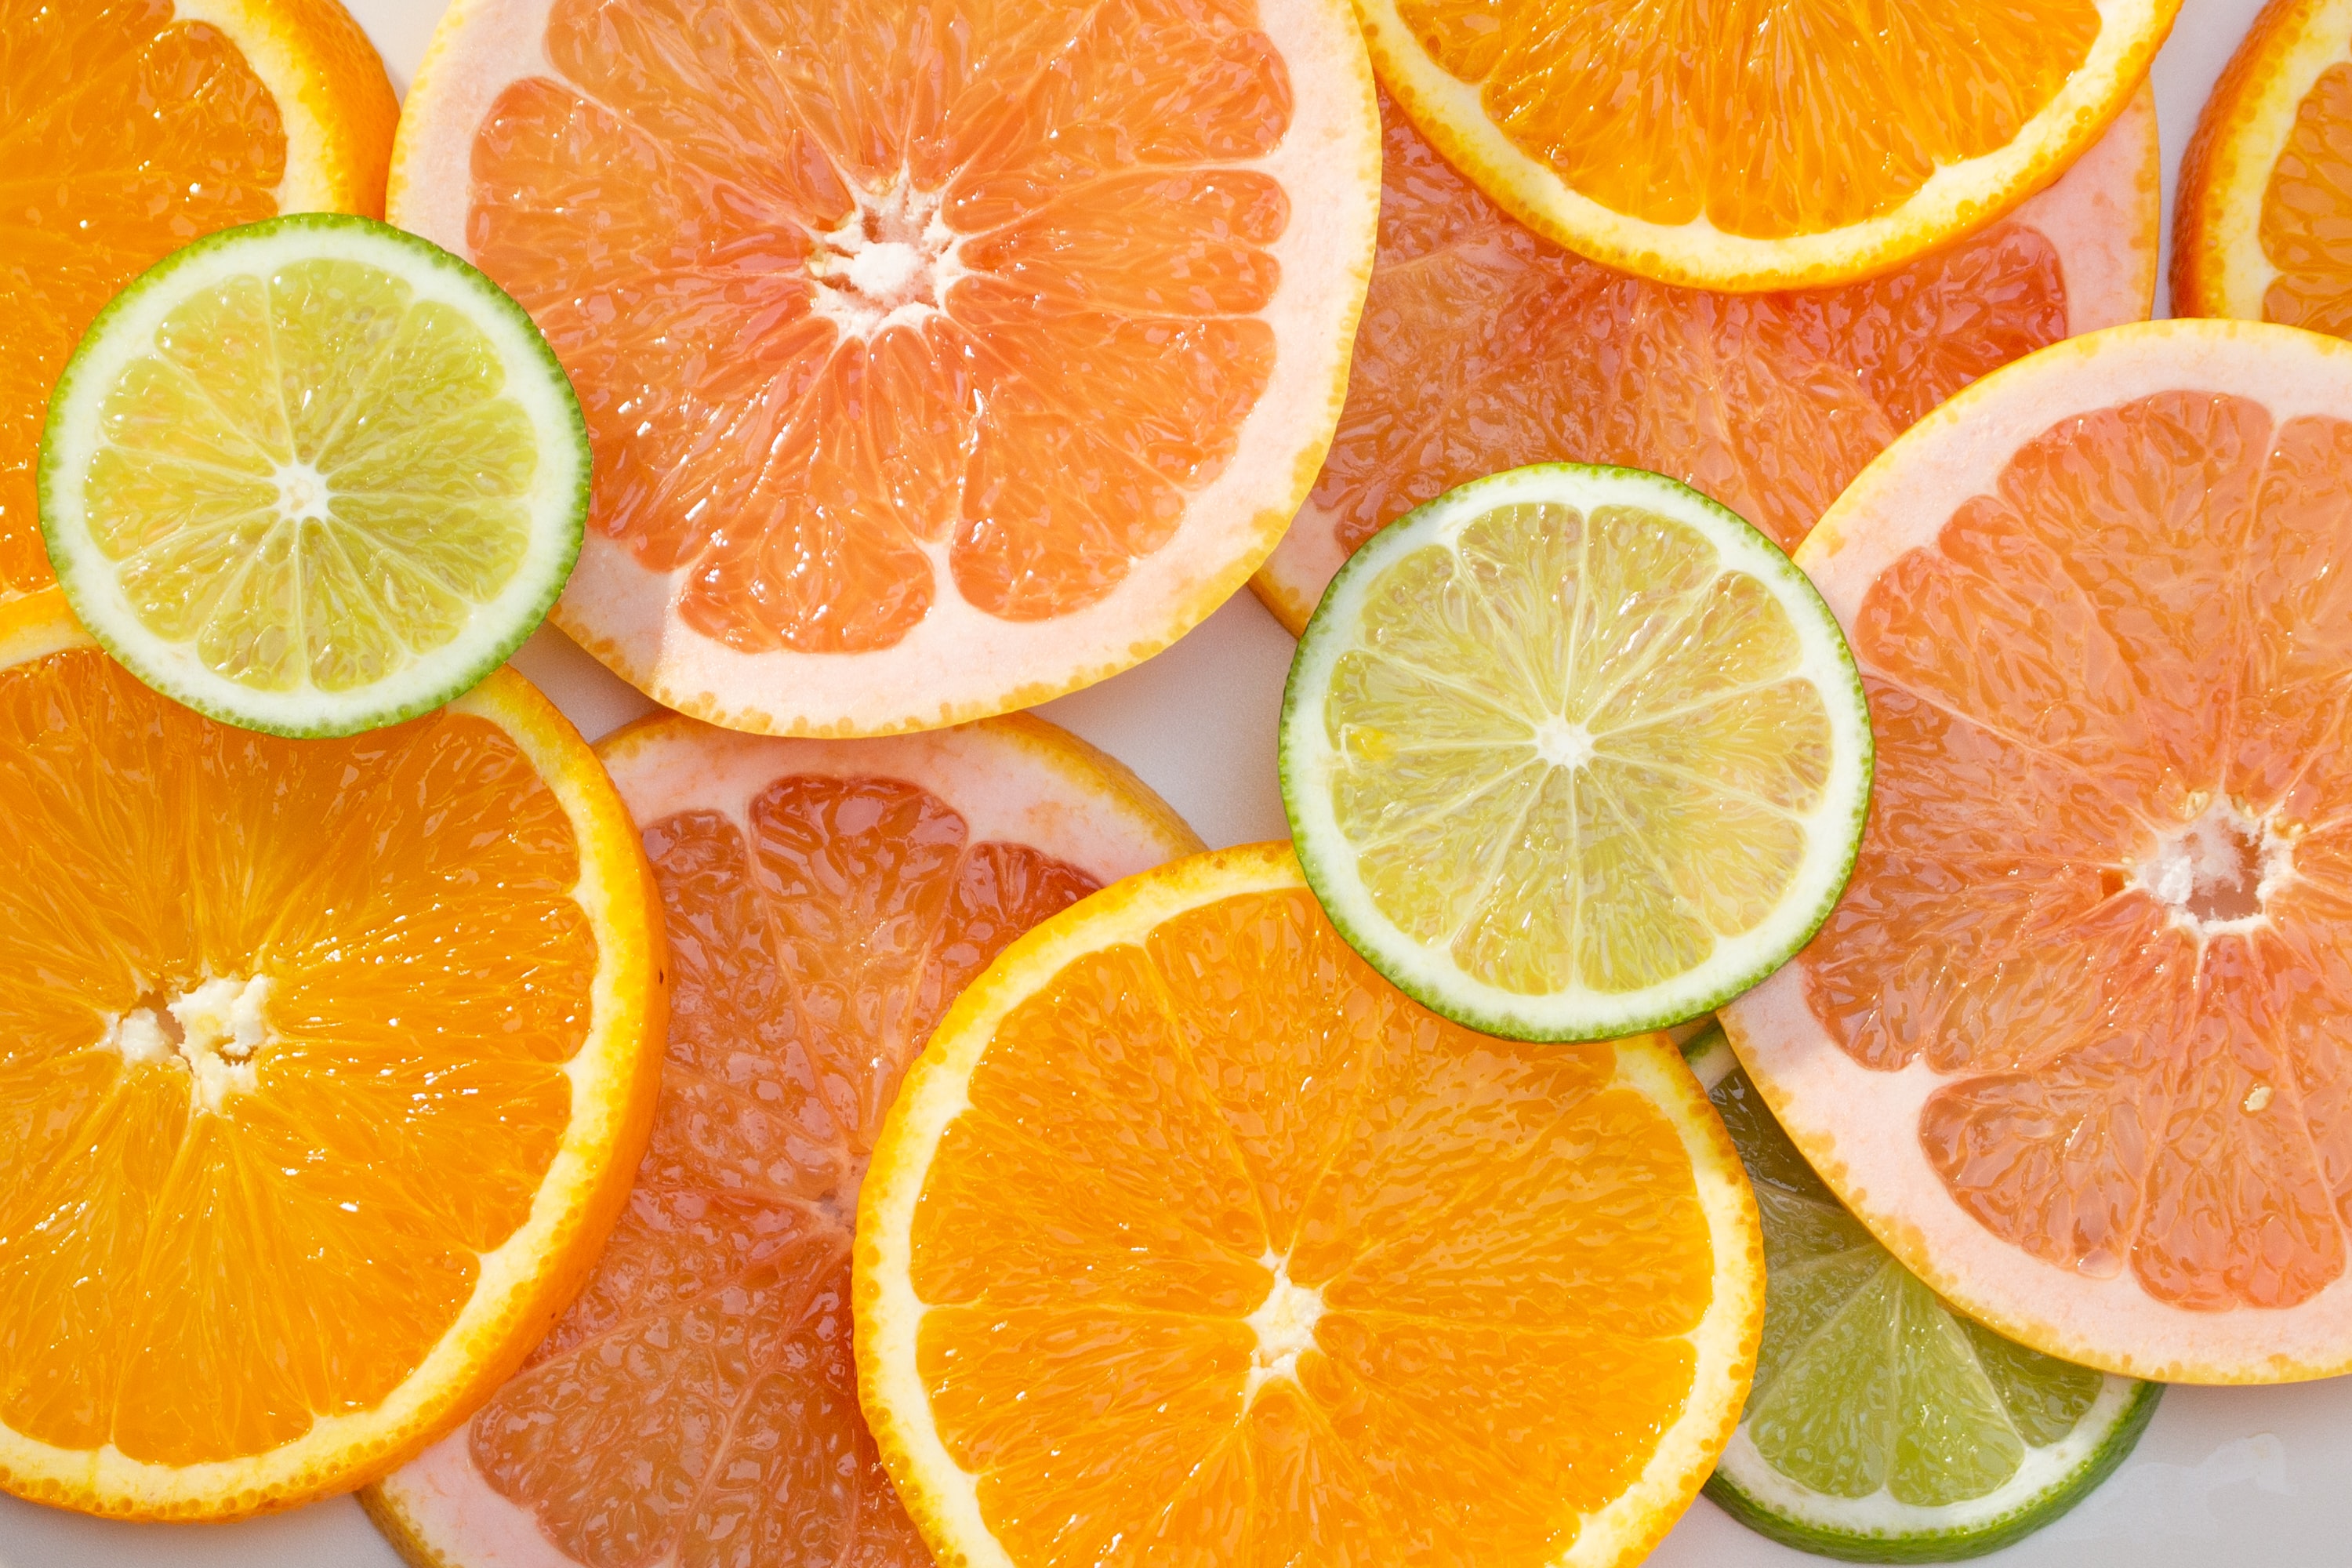
Don’t Try That Detox Until You Do This First!

We have all been there, you are feeling like garbage, you have low energy and can’t focus and you just want to feel good again! Then you hear someone talking about this detox program they are doing, and they feel amazing and you want to feel amazing too, so you jump in headfirst. You feel great at the start of the detox and then towards the middle…well, you think you might actually feel worse!

Unfortunately, if you don’t support your body foundationally before starting a detox, you could actually do more harm than good. This starts with getting your body into a parasympathetic state. And this is where I talk about blood sugar balance again! Detoxification is final downstream consequence of chronically high blood sugar that I’m going to discuss. Remember that roller coaster analogy that I used the last time? This stress and subsequent cortisol release actually create a buildup of free radicals as well as a general catabolic state; where the nutrients that are needed for detoxification, are used up in response to the higher stress demand. This makes these nutrients unavailable to help aid in Phase 2 detoxification. By properly supporting your body foundationally though proper blood sugar regulation, you ensure that your elimination pathways are open to allow for detoxification (clearing) of the damaged cells.

Photo by Dominik Martin on Unsplash

Let’s discuss the two phases of detoxification. In Phase 1 toxins are broken down into intermediate metabolites in order to make the toxins water-soluble in order for them to enter into phase 2. This is where most detox efforts go right. Maybe you’re eating detox supporting greens, eating less or perhaps even doing a little intermittent fasting. And this is where, at first, you feel great. But then all of these intermediates build up and many are actually more toxic than the initial toxin load. But your body is struggling because it needs Phase 2 support, and it cannot clear the toxins out of your body. This is when you might get side effects like headaches, fatigue, mood dysregulation, or even feel physically sick as if you had a virus.

Phase 2 is all about conjugation or binding of toxins to enzymes which will help carry the toxins thorough the various detox pathways (there are 6) and out of the body via bile, urine or feces. Of the 6 pathways, sulfation is typically the weakest in most people since alcohol, excessive exercise and chronic disease can deplete glutathione in the blood which is a critical antioxidant needed for clearing free radicals and heavy metals though the sulfation pathway. So, lifestyle factors and diet are big here for supporting the sulfation pathway. In addition, you should be sure to properly hydrate in order to support the kidneys efforts to flush toxins via the urine.

To support Phase 1 and Phase 2 detoxification we can do the following:
· Support the detoxification system by eating a nutrient dense, whole food diet
· Support the liver by eating macronutrient balanced meals which keep the blood sugar roller coaster minimal since the cortisol spikes will stress the liver
· Consume foods high in B vitamins B6 and B2 (riboflavin) which are needed to support liver enzyme functions as well as detox enzymes (cytochromes P450)
· Consume high quality protein from well-sourced eggs, fish, meat which nourishes the amino acid and sulfation pathways
· Consume fresh fruit and veggies (organic when possible), particularly sulfur-containing cruciferous veggies (broccoli, cauliflower, kale, etc.) to support Phase 2 activity

Photo by Josh Bean on Unsplash

Food list to support detox:
· Wild caught fish, grass-fed beef and pastured poultry, eggs and pork
· Organic low glycemic fruits (berries are great low glycemic fruits)
· Organic cruciferous veggies – broccoli, cauliflower, kale, cabbage, brussels sprouts
· Organic colorful veggies – bell peppers (orange/yellow/red), sweet potatoes, squash of all kinds, carrots, spinach, lettuces, etc.

Notice that this list does not include juice-only or raw vegan protocols. All you need is to bulk up on nourishing whole foods in the right ratios! And protein is super important, so don’t leave out the meat! Without proper amino acids (from protein sources) you will lack the Phase 2 pathways to clear the toxins you have just released. If all of this is on point, then you might play around with some intermittent fasting and see how that feels; however, start slow (12 hr fast) and pay close attention to what your body is telling you. Back off immediately if it doesn’t feel good or if you feel like biting someone’s head off and for women, avoid doing longer fasts (>16 hours) more than once a week. Try eating meat and veggies only (no grains) for 2- 4 weeks and try to make it a habit to cycle into again every 4-6 months.

If you still don’t know where to begin, reach out! This is where an NTP can help support you and guide ways to make healthy swaps and support you in your journey. You might also need strategic supplemental support along the way based on your bio-individual needs. Click HERE to book a free Discovery Call Today!

Resources

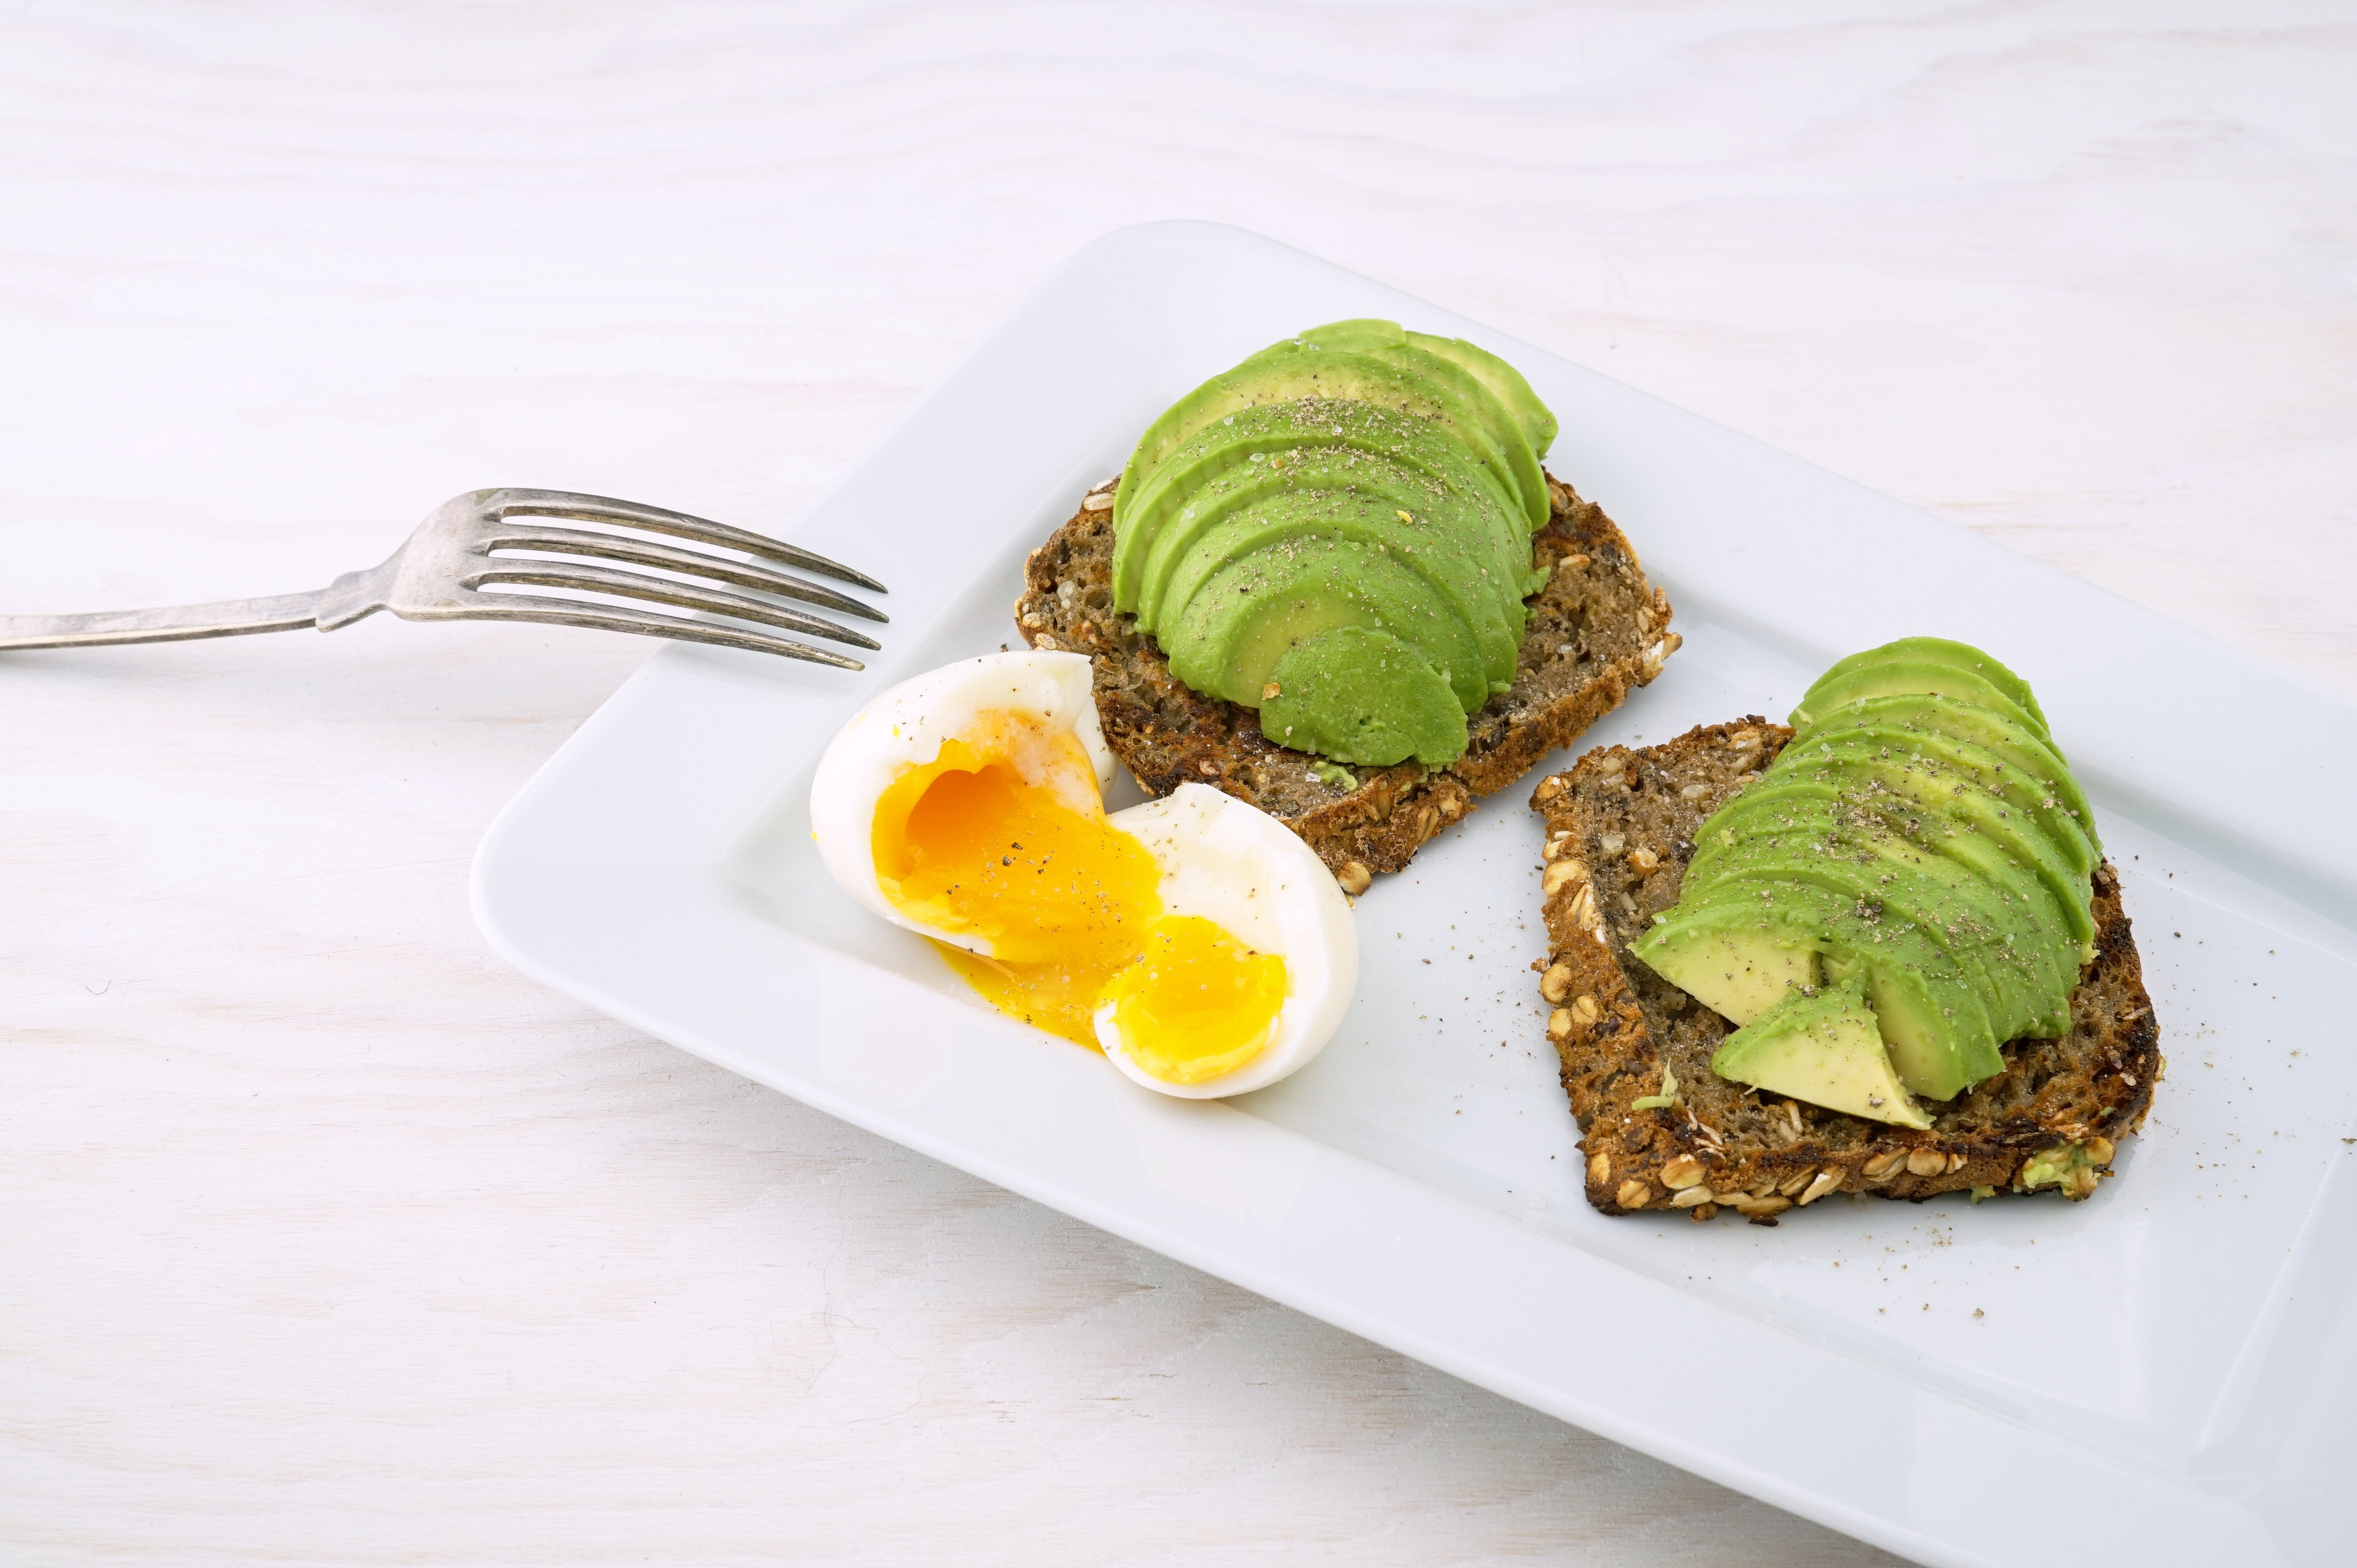
What does Blood Sugar have to do with the Immune System??!

Last time we talked about how blood sugar regulation affects the endocrine system. The cool thing about the human body is that everything is connected! So when it comes to the immune system, blood sugar regulation is key to proper function. But probably not in the way that you think…

You see, inflammation is your body’s reaction to a stressor, and the more stressors you put on your body, the more it weakens your body’s natural defenses. You might think of this stress as filling an imaginary ‘bucket’ and once that bucket overflows, your body reacts…either by getting physically sick, showing up as digestive distress, or having skin conditions pop up (among numerous other reactions). In fact, chronic stress can lead to autoimmune diseases and other chronic health conditions. In order to protect your long-term health and avoid overflowing your ‘bucket’ you want to strengthen your defenses (your immune function) and remove the stressors (blood sugar imbalances, mental stress, environmental stress, potential food reactions, etc.). Dr. Terry Wahls discusses this at length in her book The Wahls Protocol ® (2020) and how finding this balance can improve symptoms associated with a number of autoimmune conditions.

Blood sugar imbalance was discussed in a previous post but as a refresher; every time your body sees those high peaks (spikes) in blood sugar, it sees it as a stressor and your hormones react accordingly. The graphic below demonstrates dysregulated blood sugar control.

Over time, this stresses your HPA (hypothalamus, pituitary, adrenal) axis and can cause dysregulation and inflammation. Your immune system is always working hard to address any causes of inflammation to achieve homeostasis (aka balance). And every time blood sugar spikes, so does your cortisol. Over time, this leads to chronically high cortisol which can lead to a number of health issues, inflammation, and imbalances. I really like the graphic below for showing the relationship of cortisol to other imbalances. You can see just how many systems a cortisol imbalance can affect with some direct and many indirect impacts on the immune system.

This is why finding a macro balance that feels good to your body is key to long term health. By balancing your intake of all of the macronutrients, you can keep your blood sugar more stable, so if you graphed your blood sugar levels, it would look more like rolling foothills and not the peaks and valleys of a mountain pass. Chronic blood sugar dysregulation is the start of a cascade of imbalances that are regulated by the HPA axis as shown in the graphic below.

So by avoiding blood sugar dysregulation, we can prevent some big imbalances in our downstream systems. This is key since when our downstream systems are out of balance, our immune system is compromised. This is because our body is working hard to bring these systems back into balance. This stress makes it harder for the body to activate our immune “soldiers” and fight off “invaders”.

Photo by Wesual Click on Unsplash

The biggest change you can make today is look at your carbohydrate intake relative to protein and fat. The majority of people heavily lean towards carbs. By making some minor tweaks to include more protein and fat on your plate and reduce your carb serving, I think you will quickly find yourself feeling more satiated (fuller longer) and reaching for snacks less often! Essentially, you always want to pair your carbs with a protein and/or fat.

Here are some balanced snack/meal ideas:
● Gluten free avocado toast and 2 eggs
● 1 piece of fruit + a handfull of your favorite raw or dry roasted nuts
● Hummus and plantain chips
● Cheese and apple slices
A meat stick and almond flour crackers
● Yogurt (unsweetened greek) + drizzle of raw honey, berries and a sprinkle of pecans

If you struggle with cravings and finding the right way to step into finding macro balance, let’s get in touch, I’d love to support you!

Resources

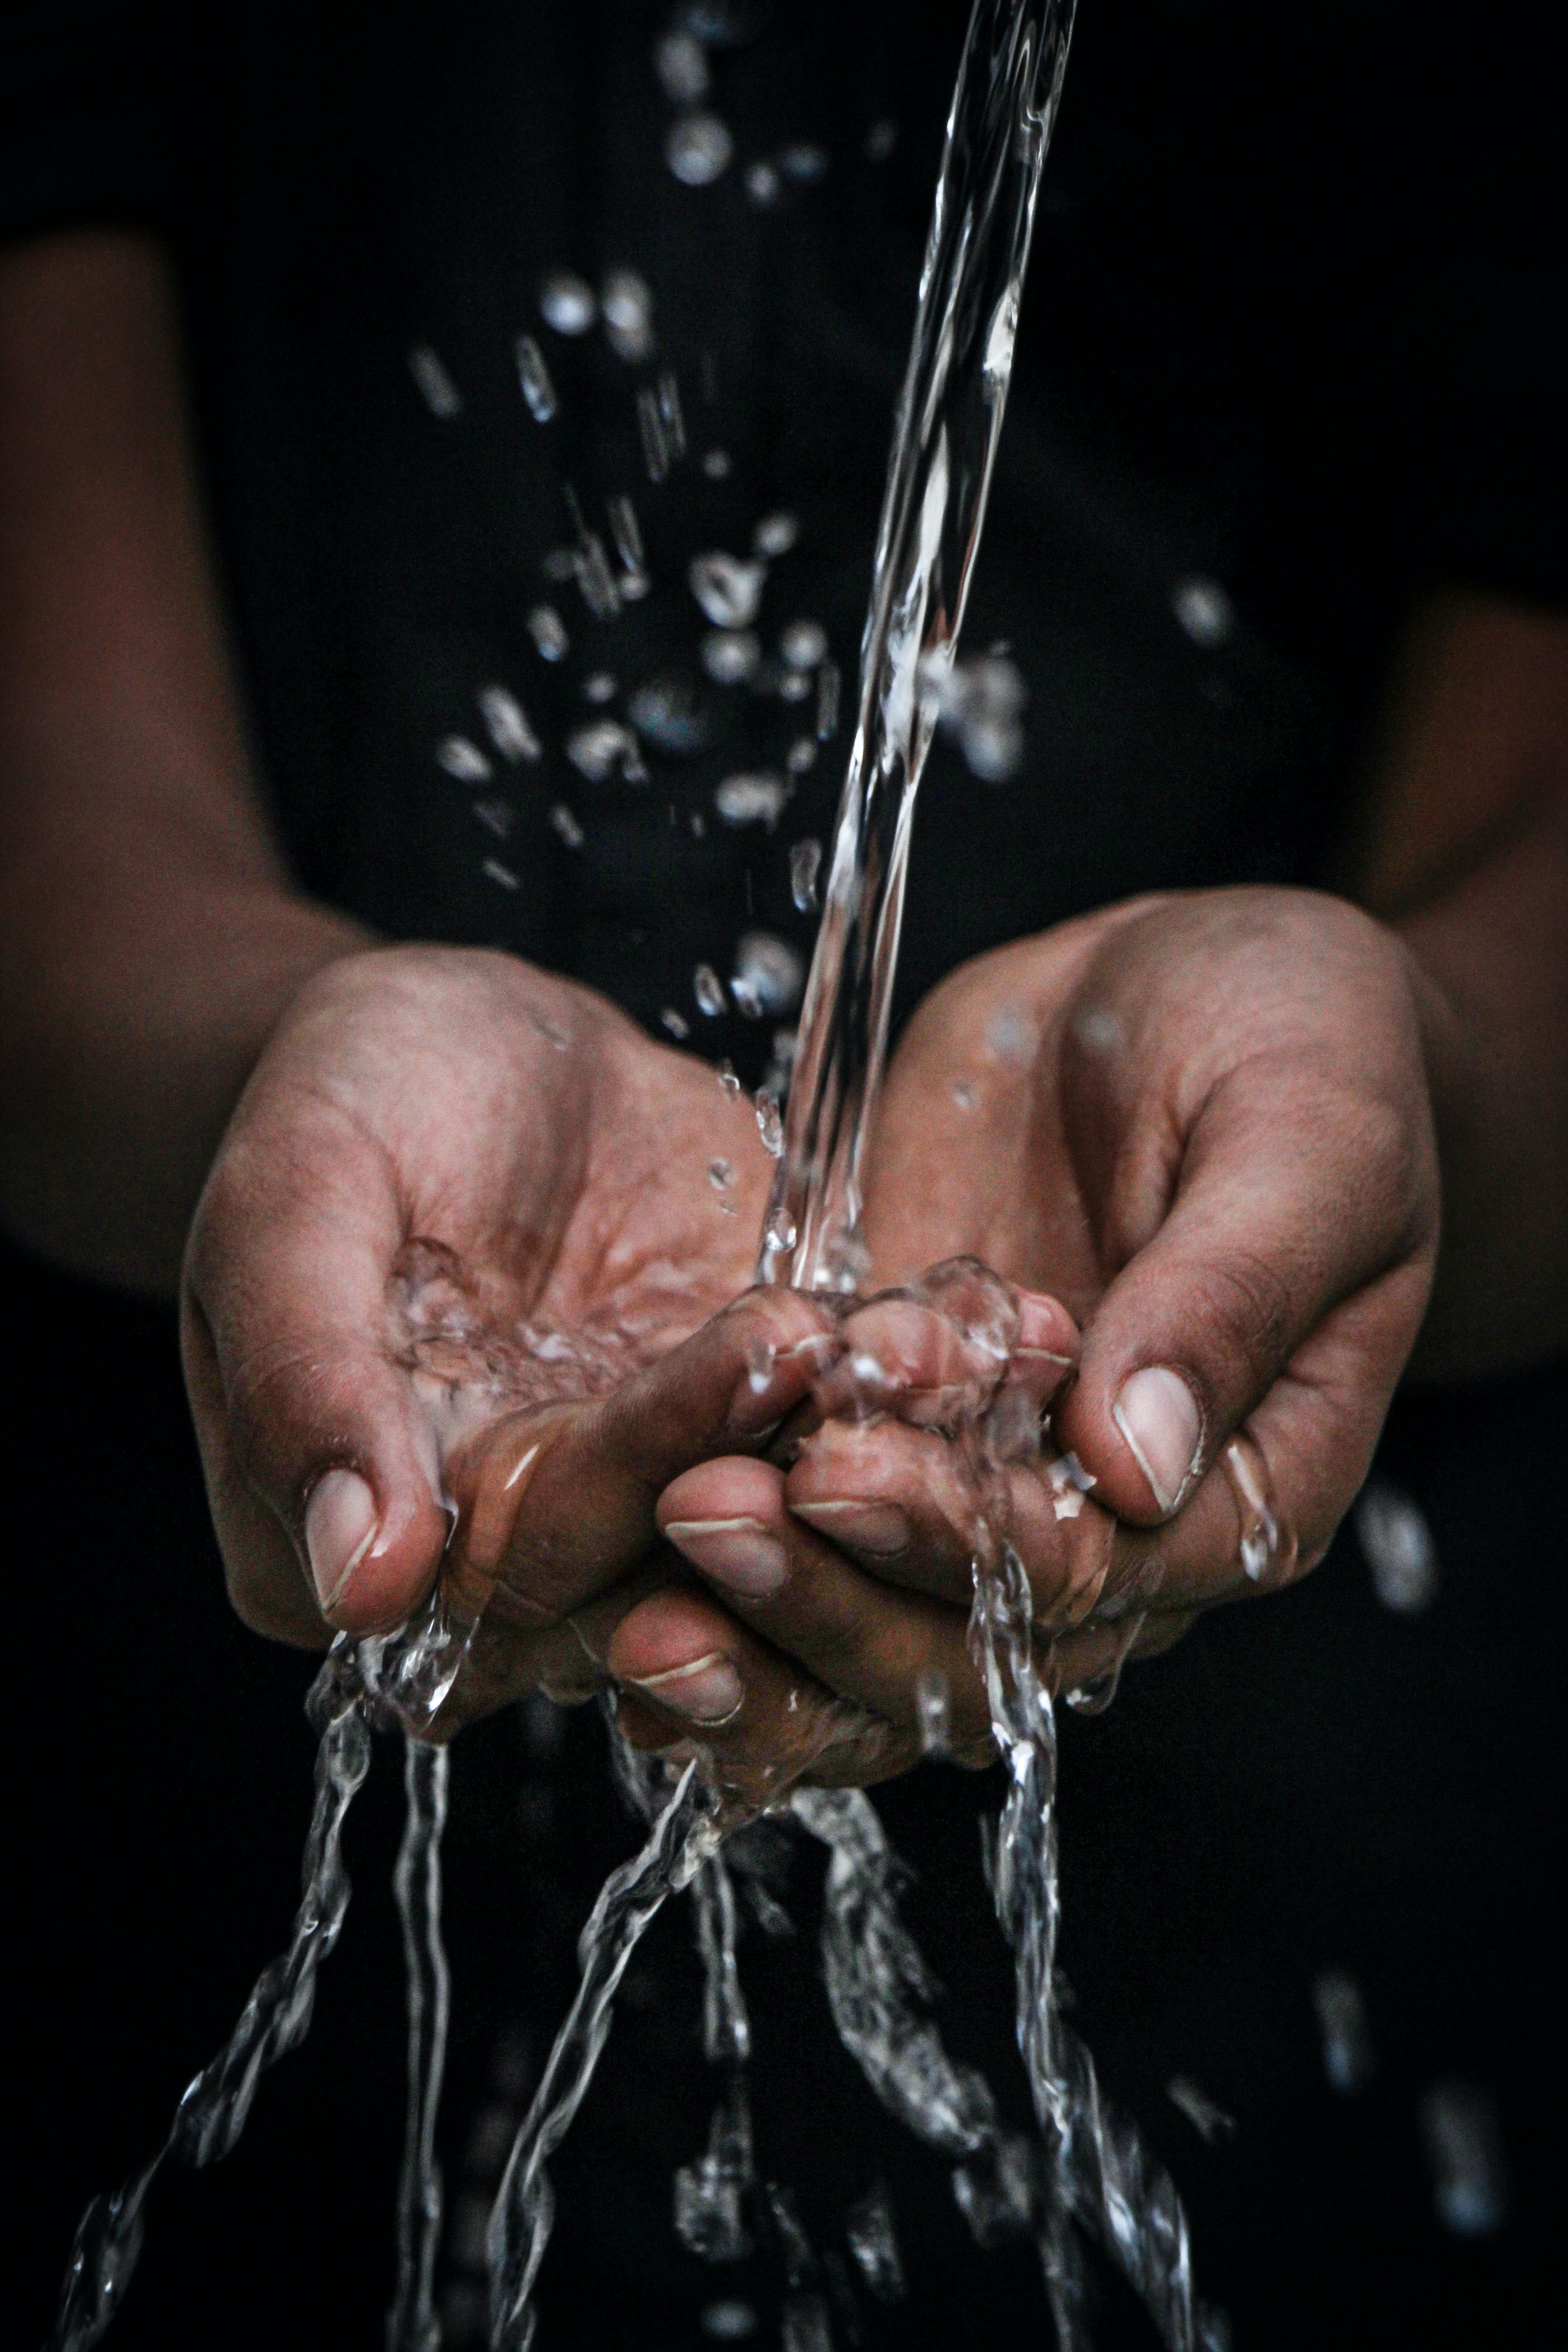
Why You Are Likely Dehydrated…

Photo by mrjn Photography on Unsplash

Let’s talk water and hydration! Did you know that most Americans are living in a state of constant dehydration?! Not only do caffeinated beverages, including energy drinks and sodas, make up a disproportionate amount of our fluid intake, they are diuretics. Fun (geeky) fact: I always thought that a diuretic just made you urinate more, and therefore made you less hydrated. While this is true, did you know it’s because it slows the reabsorption of water by the kidneys? So essentially, what would normally be moving back into your bloodstream, is instead excreted (via urine). I found that pretty interesting.

SOFT DRINKS

PSA on soda – remember when we discussed the role of minerals on the last post, and how proper digestion is critical to proper absorption of minerals? Well, the phosphoric acid in soda impedes the production of stomach acid (HCl) which impacts the absorption of calcium! Therefore, chronic soda drinkers could severely impact their long-term bone health. Time to switch to sparkling water!

Photo by Alexandra Nosova on Unsplash

SIGNS OF DEHYDRATION

Given that water makes up 55-60% of our total body mass, I’d say its pretty darn important! And a drop of only 2% can cause early signs of dehydration. Early signs include:

  • Fatigue (most common symptom)
  • Thirst
  • Dry Mouth
  • Muscle Cramps
  • Headaches
  • Anxiety
  • Cravings
  • Inability to concentrate
  • Dark urine


If this deficiency is chronic, it can lead to a host of health issues like:

  • Heart burn
  • Joint pain
  • Constipation
  • Colitis
  • Exercise induced asthma
Photo by Mehrpouya H on Unsplash

ROLES OF WATER

If you want to feel (and look) your best, water is your BFF! Did you regularly experience aches and pains in your body or just feel tired all of the time? Try increasing your water intake. It really could be just that simple! As related to physical activity, water cushions our bones and joints – its actually like lubricant for your joints, prevents tissues from sticking (dehydration actually makes you less flexible), and even regulates your body temperature. These are all key components to performing at your sport or just generally feeling like a rock star.

HOW MUCH

There are a number of formulas that can be used to determine your necessary water intake. Many people use the ‘drink ½ your body weight (lbs) in ounces of water’. This is a pretty good quick guide. Keep in mind that many conditions affect your water needs. How much you exercise, age, pregnancy and lactation, and medications consumed. Here is one guideline called Adequate Intake or AI:

https://www.nal.usda.gov/sites/default/files/fnic_uploads/water_full_report.pdf

For physically active folks, there are some additional guidelines I’d like to cover. The American College of Sports Medicine has guidelines for intake which I have summarized below. These are for males, so keep in mind that females will need slightly less. Intake will also depend on the length and exertion of the activity. For longer activities, or if you have sweated a great deal, you should add electrolytes to your water because water alone cannot fully hydrate you. Alternatively, you could add a more high quality sea salt to your recovery meal.

WHEN AND HOW TO GET IN YOUR WATER

Photo by Maria Di Lorenzo on Unsplash
  • Start your day with a glass of water.
    I like to squeeze ¼ of a lemon and a pinch of sea salt to mine. It’s a great way tostart the day off!
  • Drink at the first sign of thirst.
    Or if your tired, tense, had a headache or can’t concentrate.
  • Drink more if your urine is dark.
    You want it to be light yellow or straw colored. Note that vitamins can often darken urine, this does not mean you are dehydrated.
  • Drink before, during and after physical activity.
    Use the guidelines above as a starting point

IN SUMMARY

Unfortunately, most people are not able to recognize signs of dehydration. Our modern lifestyles are so full of distractions that its easy to forget to drink. Try carrying a nice glass or stainless-steel bottle with you everywhere you go – in the car, in meetings, at your desk. This is a great way to ensure you always have it on hand and it’s a great reminder to sip throughout the day.

For more support in your efforts to improve hydration click here!: Let’s work together!

Resources

Mineral Balance For Performance and Recovery

Photo by Harris Vo on Unsplash

So far, we have discussed a number of topics including digestion, blood sugar regulation, and fatty acids. Today I want to talk all about minerals and why they are so important. They are always important, but as we approach summer, they become crucial to sports performance. Let’s start with the basics – what are minerals?

Minerals are broken up into Major and Minor Minerals, based on their levels in the body. The Major minerals include Calcium, Chloride, Magnesium, Phosphorus, Potassium, Sulfur, and Sodium. Calcium is the most abundant in the body amounting to 40% of the total mineral mass (only 1.5% of total body mass). Having balanced mineral levels are key for everyone, but they are particularly important for physically active adults. Too much or too little can really throw your entire system off!

The simplified mineral interaction chart below shows how some minerals interact with each other. Though this looks complicated, let me explain how to read it. If a mineral has an arrow pointing to another mineral, it means a deficiency of that mineral (or interference with its metabolism) may be caused by an excess of the mineral from where the arrow originates. And some pairs work in both directions – such as magnesium and calcium. If you have too much calcium, you may not be absorbing the magnesium you are consuming and vice versa.

Minerals serve a number of roles including: contracting and relaxing muscles, maintaining proper nerve function, regulating tissue growth and providing functional and structural support (think strong bones here).

An example of a mineral imbalance would be when an athlete gets leg cramps during short high-intensity or endurance type workouts or events. Without the proper balance of calcium and magnesium, this can happen easily since calcium regulates muscle contraction and magnesium regulates the muscle relaxing.

Even the microminerals can have a big impact on how you feel. For example, if you’re looking for peak performance (or just want to feel your best), you need to have proper levels of iodine. Iodine is essential in the production of thyroid hormone, which affects everything from metabolism to sexual hormones. Iodine is also key in nerve and bone formation which affects muscle memory and recovery.

Aside from performance improvements through better mineral balance, minerals directly affect your immune system. For example, most people are aware that zinc can support the immune system, but did you know that zinc is also important in the creation of stomach acid?! Since minerals are essential cofactors in creating enzymes which then convert fatty acids into prostaglandins (inflammatory regulators) – you can better understand why proper digestion is key. Isn’t it amazing how everything is truly connected in our bodies! Psst…If you haven’t been reading along, my last post on fatty acids discussed prostaglandins and how important they are for managing inflammation.

So now you might be wondering, “How do I balance my minerals? Do I take a supplement?” The short answer is – “It depends”. Many Functional Practitioners and some M.D.s will run tests for vitamin and mineral levels. If you have a known deficiency, talk to your Doctor or Practitioner about supplementing. Regardless of your mineral status, the best way to get your minerals is through your food. This is why variety matters! Eat all different colors of veggies, types of meat and seafood, and a variety of leafy greens. This will give you a full spectrum of minerals from your food.

Mineral rich foods include:

  • Shellfish
  • Cruciferous veggies (kale, cauliflower, broccoli, brussel sprouts, bok choy, arugula, etc.)
  • organ meats (try making a chicken liver pate!)
  • Eggs ( WITH the yolks!)
  • Avocados (more potassium than a banana)
  • Nuts and seeds
  • Fatty fish (sardines, herring, salmon)
Photo by Brian McGowan on Unsplash

And if you are going to hit a hard workout, you should consider adding electrolytes to your water. A simple pinch of high-quality sea salt is the cheapest method and is just as effective as the $20 sports electrolyte powder without the added sugar or sweeteners. (Note – there are some decent ones on the market now DM me for some recommendations)

Photo by Jason Tuinstra on Unsplash

Remember though that digestion is Queen in this cascade and if your digestion is not functioning properly, you may not be absorbing the minerals you are eating. It all starts with digestion!

Something else to look at is if any prescription or over the counter medications could be causing deficiencies of some minerals. This is very common, so ask your Pharmacist or Doctor about this when you start any new meds. And finally, times of high stress can also cause depletions, and some minerals are more prone to depletion from stress than others. Magnesium is a big one that is depleted with stress (physical and emotional). This is where supplementation can help support your system. A Nutritional Therapy Practitioner can also help evaluate ways to help you functionally support your body through food and/or supplements. If this is a concern for you, let’s talk. I’m here to help!

For more support in your efforts to improve digestion and mineral balance: Let’s work together!

Clean Eats, Keto Recipes, Paleo Recipes, Recipes

Dairy Free Yogurt Thats Better Than Store-Bought!

I’ve been meaning to post this one for quite some time! I can’t tolerate cow’s milk yogurt, so about 6 years ago, I started a pursuit to find (or make) the perfect homemade dairy free yogurt! This was mostly due to the store-bought stuff costing WAY too much. And over the years, it has morphed into the recipe below. I hope you enjoy it as much as I do. Its a regular staple in our house!

The easiest way to make it is in an Instant Pot with a yogurt setting. However, if you dont have one, its still possible. Just mix up the ingredients in a large stock pot and then pour it into a container (or multiple small containers) that will fit in your crock pot. You can then add about a cup of water to the bottom of the crock pot, place the lid on and set it to the lowest setting (warm would be best) for 9-10 hrs.

One time saving trick I found was to take the Instant Pot stainless insert out and putting it directly on your stove burner to prepare the yogurt. You can also do this with the “sauté” setting on the InstaPot, but then it takes forever for your Instant Pot to cool to a temperature that will not kill those good bacteria you are trying to grow! But if its your only choice, it also works.

Ill walk you through the prep steps and tricks below, but a recipe summary can also be found at the bottom of this post.

First your going to want to soak your cashews (1 cup). I usually do this the day before or in the morning before work so I can make the yogurt overnight that evening. I have soaked them in hot water for only an hour, or 1- 2 days with cold water. Either works if you have a good blender. Be sure to use filtered water if at all possible as chlorine can inhibit the growth of the bacteria.

Strain the soaked cashews, rise them well, then place them in a blender (I’m a big Vitamix fan). The nice thing about cashews is that you don’t have to strain them with a nut milk bag, so it avoids a messy step! Add water to the blender until it reaches the 4 cup mark (with the nuts and water together). Blend on high for about 30 seconds. You can make this ahead and store in the fridge until you are ready to make the yogurt, or just have it at the ready when prepping the yogurt.

You can really use any nut, but you will have to strain the pulp out of the milk. I suppose you could use oat, rice, etc as well but I have not tried this. You might have to play around with the amount of gelatin and tapioca flour you use.

Put 3 cups of filtered water in the Instant Pot insert on your stove burner and heat to a near boil.

Sprinkle 1.5 Tbsp of a high-quality gelatin (from grass fed or pastured beef or pork) and whisk until dissolved. I love this brand Further Food (not sponsored at all, just a fan). Its women owned and the quality is top notch.

Once the gelatin is all whisked in and dissolved, pour in the homemade nut milk into the pot. Add 2 Tbsp of organic cane sugar and whisk to dissolve. You need the sugar as food for those bacteria you want to grow. You cannot make yogurt without it. During the fermentation process, it will get “eaten up” and very low levels of sugar will actually be left in the batch. Continue heating the mixture.

In a small bowl, add 1/4 cup tapioca flour and about 1/4 – 1/2 cup of water and whisk until blended. You will need this prepared BEFORE the milk mixture starts bubbling!

Watch the mixture closely, as soon as it starts bubbling, add the tapioca slurry and quickly whisk into the pot. Whisk and allow to boil for about 15 seconds. No longer. Then turn off the heat and move to a cool burner.

Allow to cool to 110 degrees or less, whisking periodically as it cools if you are able (this is optional but can make for a smoother yogurt and speeds up the cooling). Then add your yogurt starter and whisk it through. I have found that this vegan starter from Cultures For Health to make the best tasting yogurt, but I have also used high quality probiotic capsules well (make sure they don’t contain any prebiotic fibers). In a pinch I have also used 1/2 cup of store-bought plain dairy free yogurt. If using probiotic capsules, you have to experiment a little with your formula. Try adding just one capsule to start and if its not very tangy, add more on the next batch or let it go longer.

A trick is that once you have made a batch, set aside 1 cup (in the fridge) that is off limits for eating, so you can use it to start your next batch! It works great!

Place the stainless insert containing your yogurt mixture into the Instant Pot, put on the lid (vent can remain open or closed), and push the “Yogurt” button and set for 9 hours.

You can open and taste the yogurt after 9 hours and if it isnt tangy enough, put in back on for another 2-3 hours and try again.

The yogurt will be runny coming out of the Instant Pot, but will set up nicely in the fridge. Whisk and then pour the mixture into large glass mason jars (wide mouth is best), seal and place in fridge. It sets up in about 2-3 hours.

I love making parfaits with grain free granola and berries, using it as a topping, or just eating it straight up! You can of course add cinnamon or vanilla to it to flavor it, but I would recommend doing this AFTER fermentation so you dont inhibit the growth of those good guys! However you eat it, I hope you enjoy this. It might sound intimidating, but its really quite simple once you do it a few times.


Cashew Milk:
* 1 cup soaked cashews
* 3 cups filtered water
Blend for 30 sec in high powered blender

Ingredients:
* 3 cups filtered water
* 1.5 Tbsp high quality gelatin
* 4 cups homemade cashew milk
* 2 Tbsp cane sugar
* 1/4 cup tapioca flour + 1/4 – 1/2 filtered water – whisked together
Whisk all dry ingredients in a separate bowl.

Directions:
1) Put 3 cups of filtered water in the InstaPot insert on your stove burner and heat to a near boil.
2) Sprinkle 1.5 Tbsp of a high quality gelatin (from grass fed or pastured beef or pork) and whisk until dissolved.
3) Once the genatin is dissolved, pour in the homemade nut milk into the pot.
4) Add 2 Tbsp of organic cane sugar and whisk all together.
5) In a small bowl, add 1/4 cup tapioca flour and about 1/4 – 1/2 cup of water and whisk until blended. You will need this prepared BEFORE the milk mixutre starts bubbling!
6) Watch the mixture closely, as soon as it starts bubbling, add the tapioca slurry and quickly whisk into the pot. Whisk and allow to boil for about 15 seconds. No longer. Then turn off the heat and move to a cool burner.
7) Allow to cool to 110 degrees or less, whisking periodically as it cools if you are able (this is optional but can make for a smoother yogurt and speeds up the cooling process).
8) Add your yogurt starter (actual starter, 1 cup from a previous batch, or 1/2 – 1 cup of store-bought yogurt. Whisk through thoroughly.
9) Place the stainless insert with the yogurt mixture into the InstaPot, put on the lid (vent can remain open or closed), and push the “Yogurt” button and set for 9 hours.
10) The yogurt will be runny coming out of the InstaPot, but will set up nicely in the fridge. Whisk and then pour the mixture into large glass mason jars, seal and place in fridge.
11) The yogurt sets up in about 2-3 hours.

Optional Toppings:
* berries
* shredded coconut flakes
* cacao nibs
* nut butter
* granola