Skip to content
Daily Bag of Goodness
About Jamie
Nutrition Resources
Recipes
Work with me
healthy breakfast
February 20, 2024
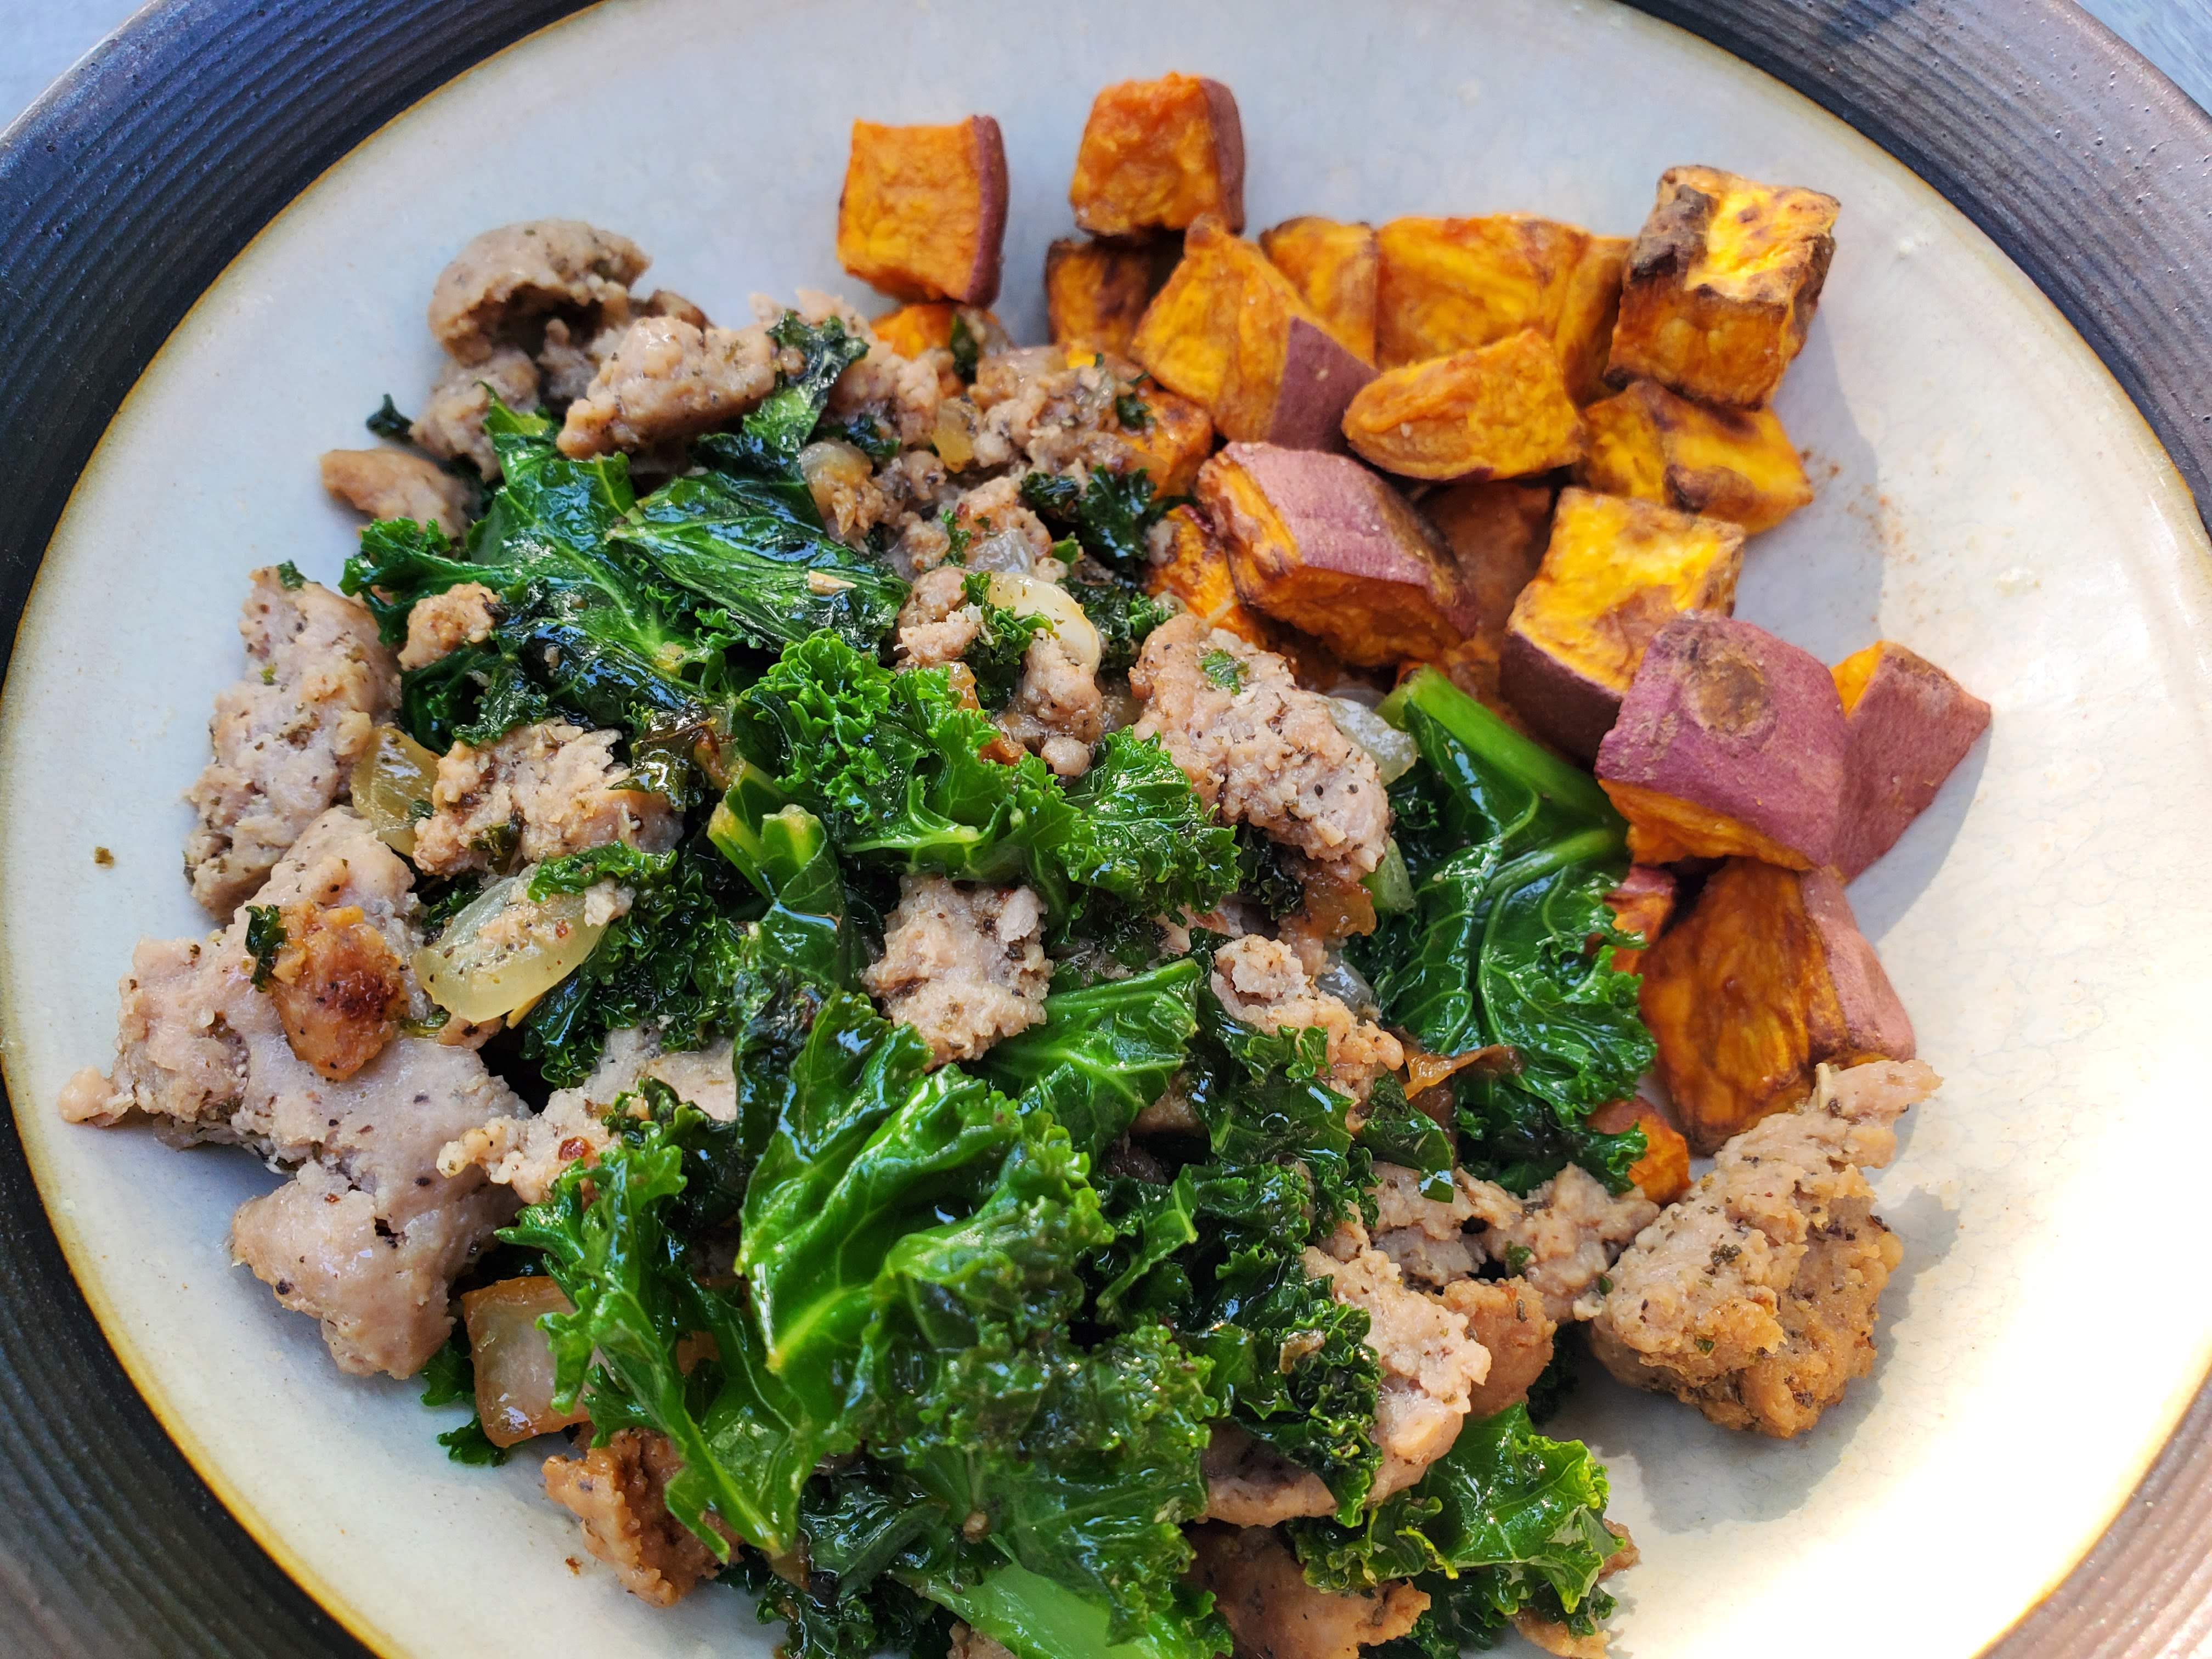
Easy Protein-Rich Breakfast Hash
March 14, 2021
Dairy Free Yogurt Thats Better Than Store-Bought!
February 9, 2021
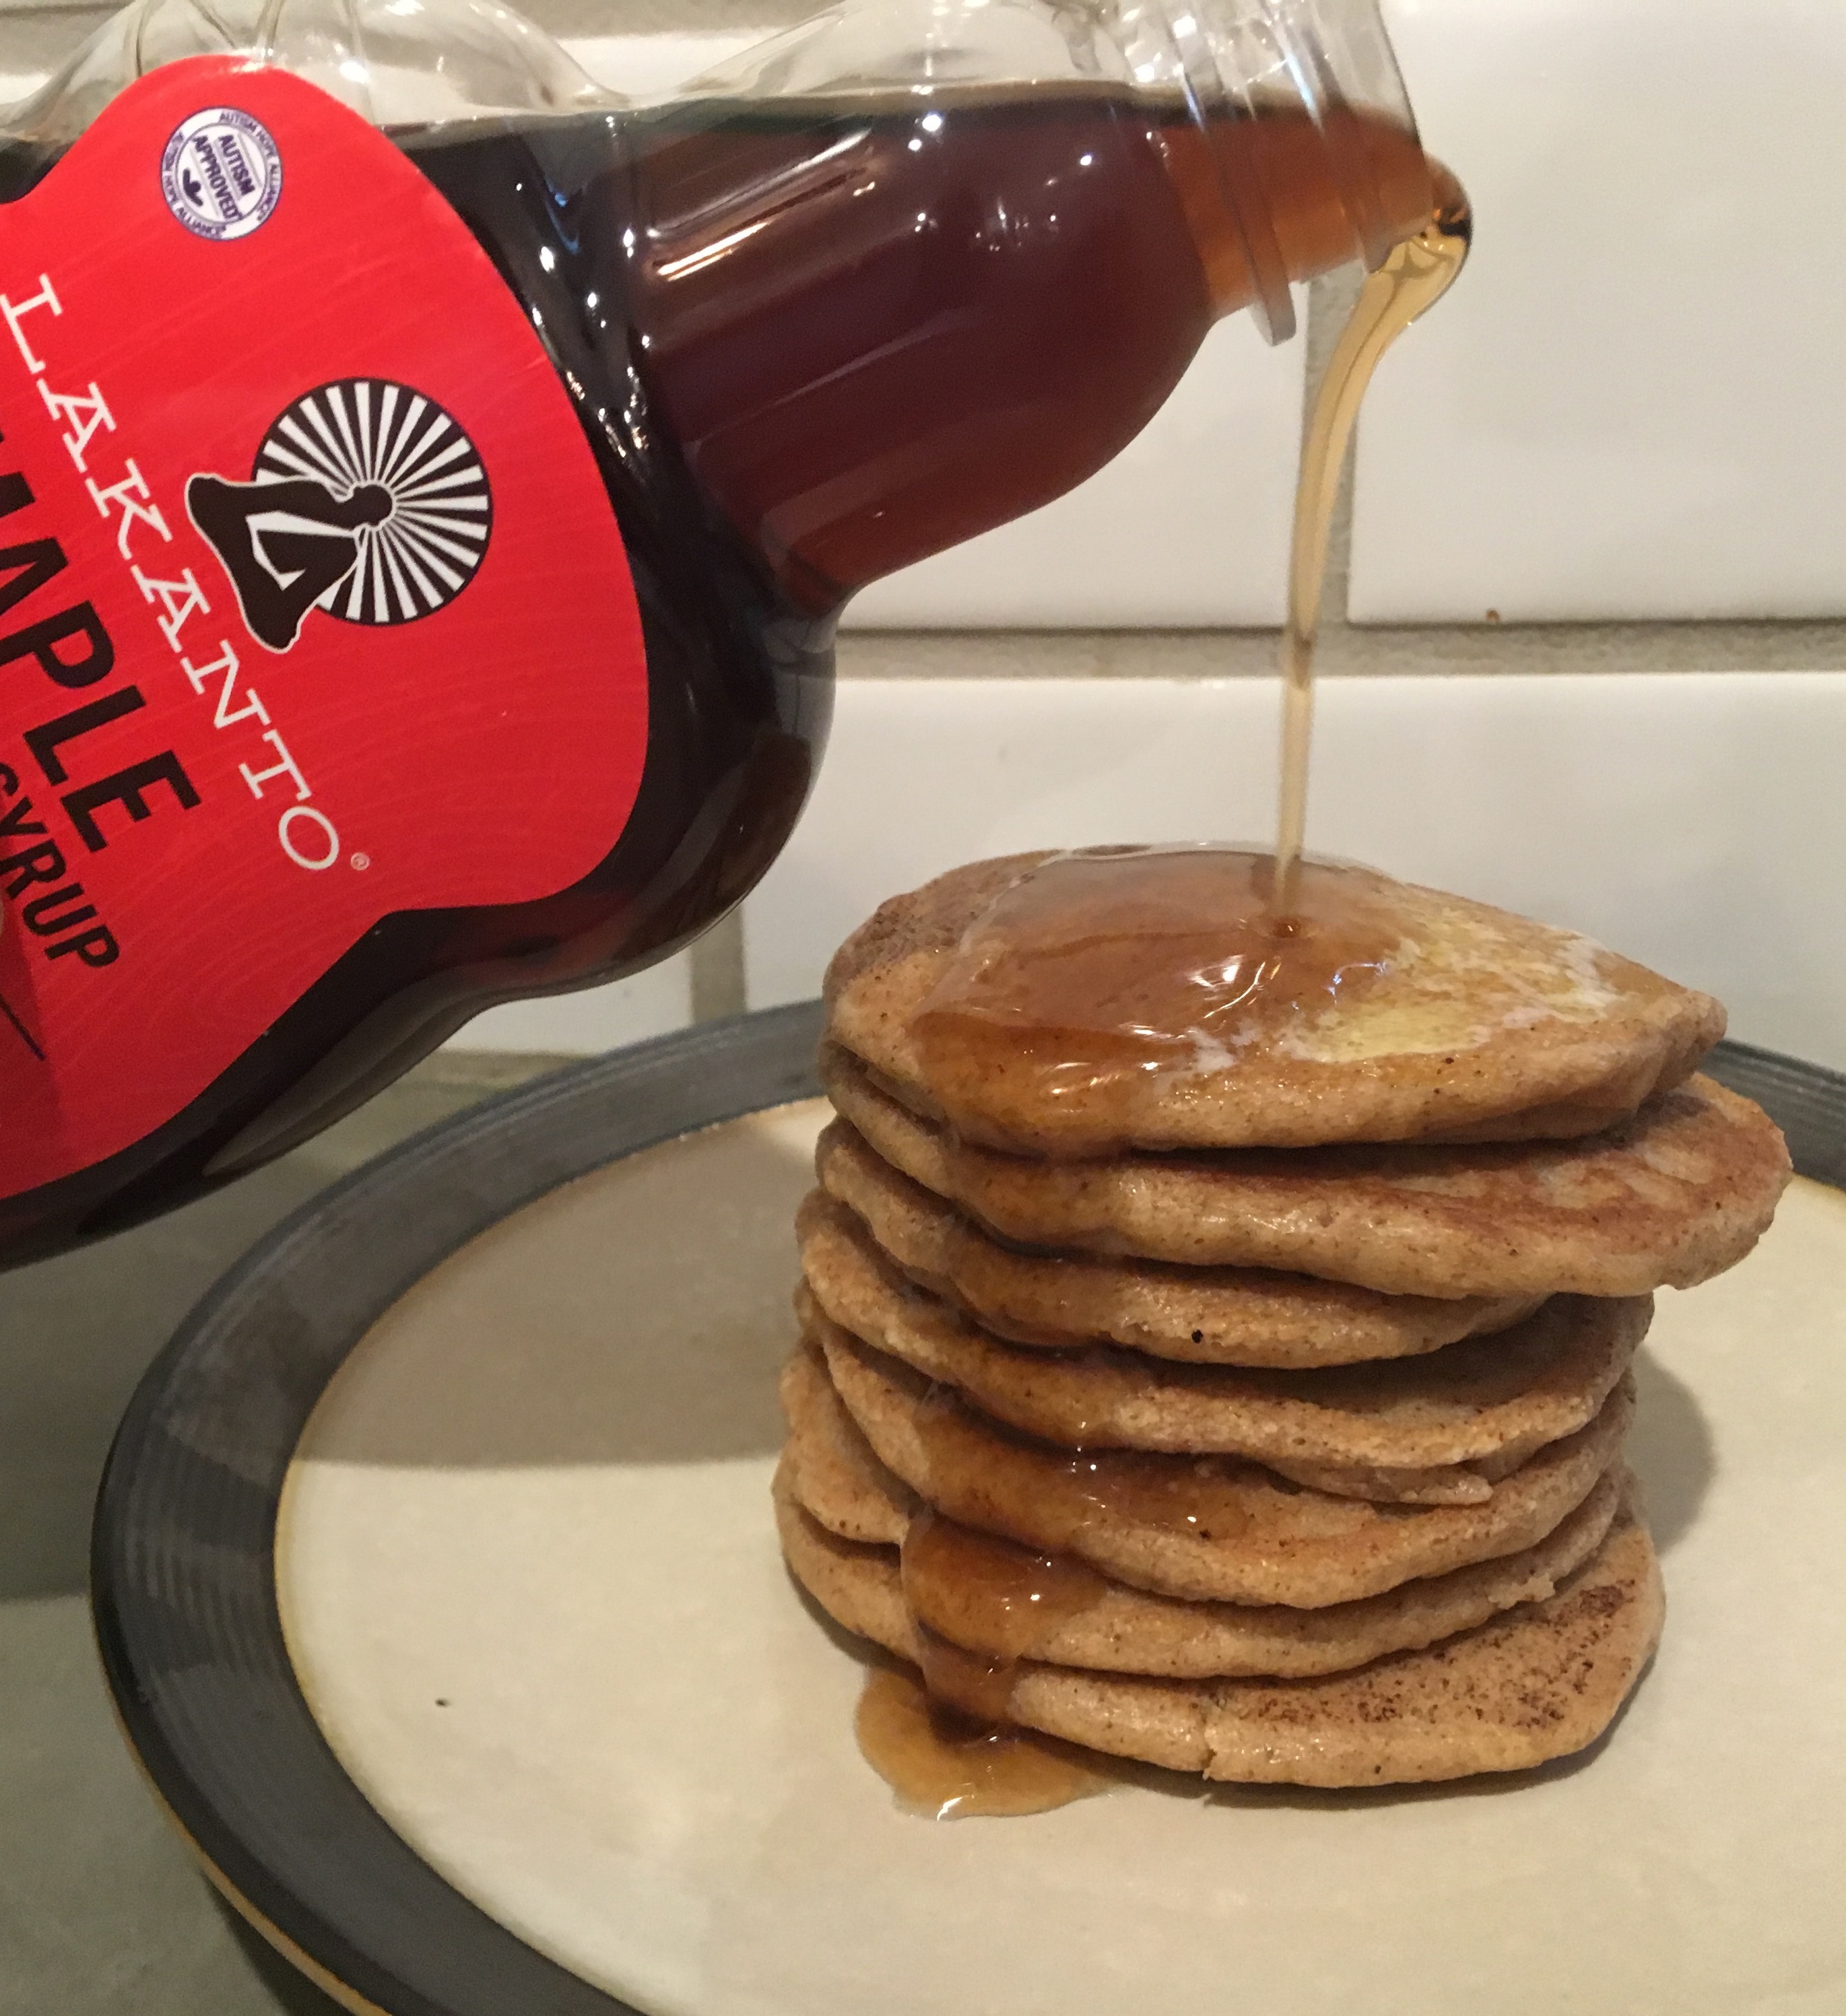
Low Carb & Grain Free Pancakes – keto, paleo, dairy free
April 18, 2018
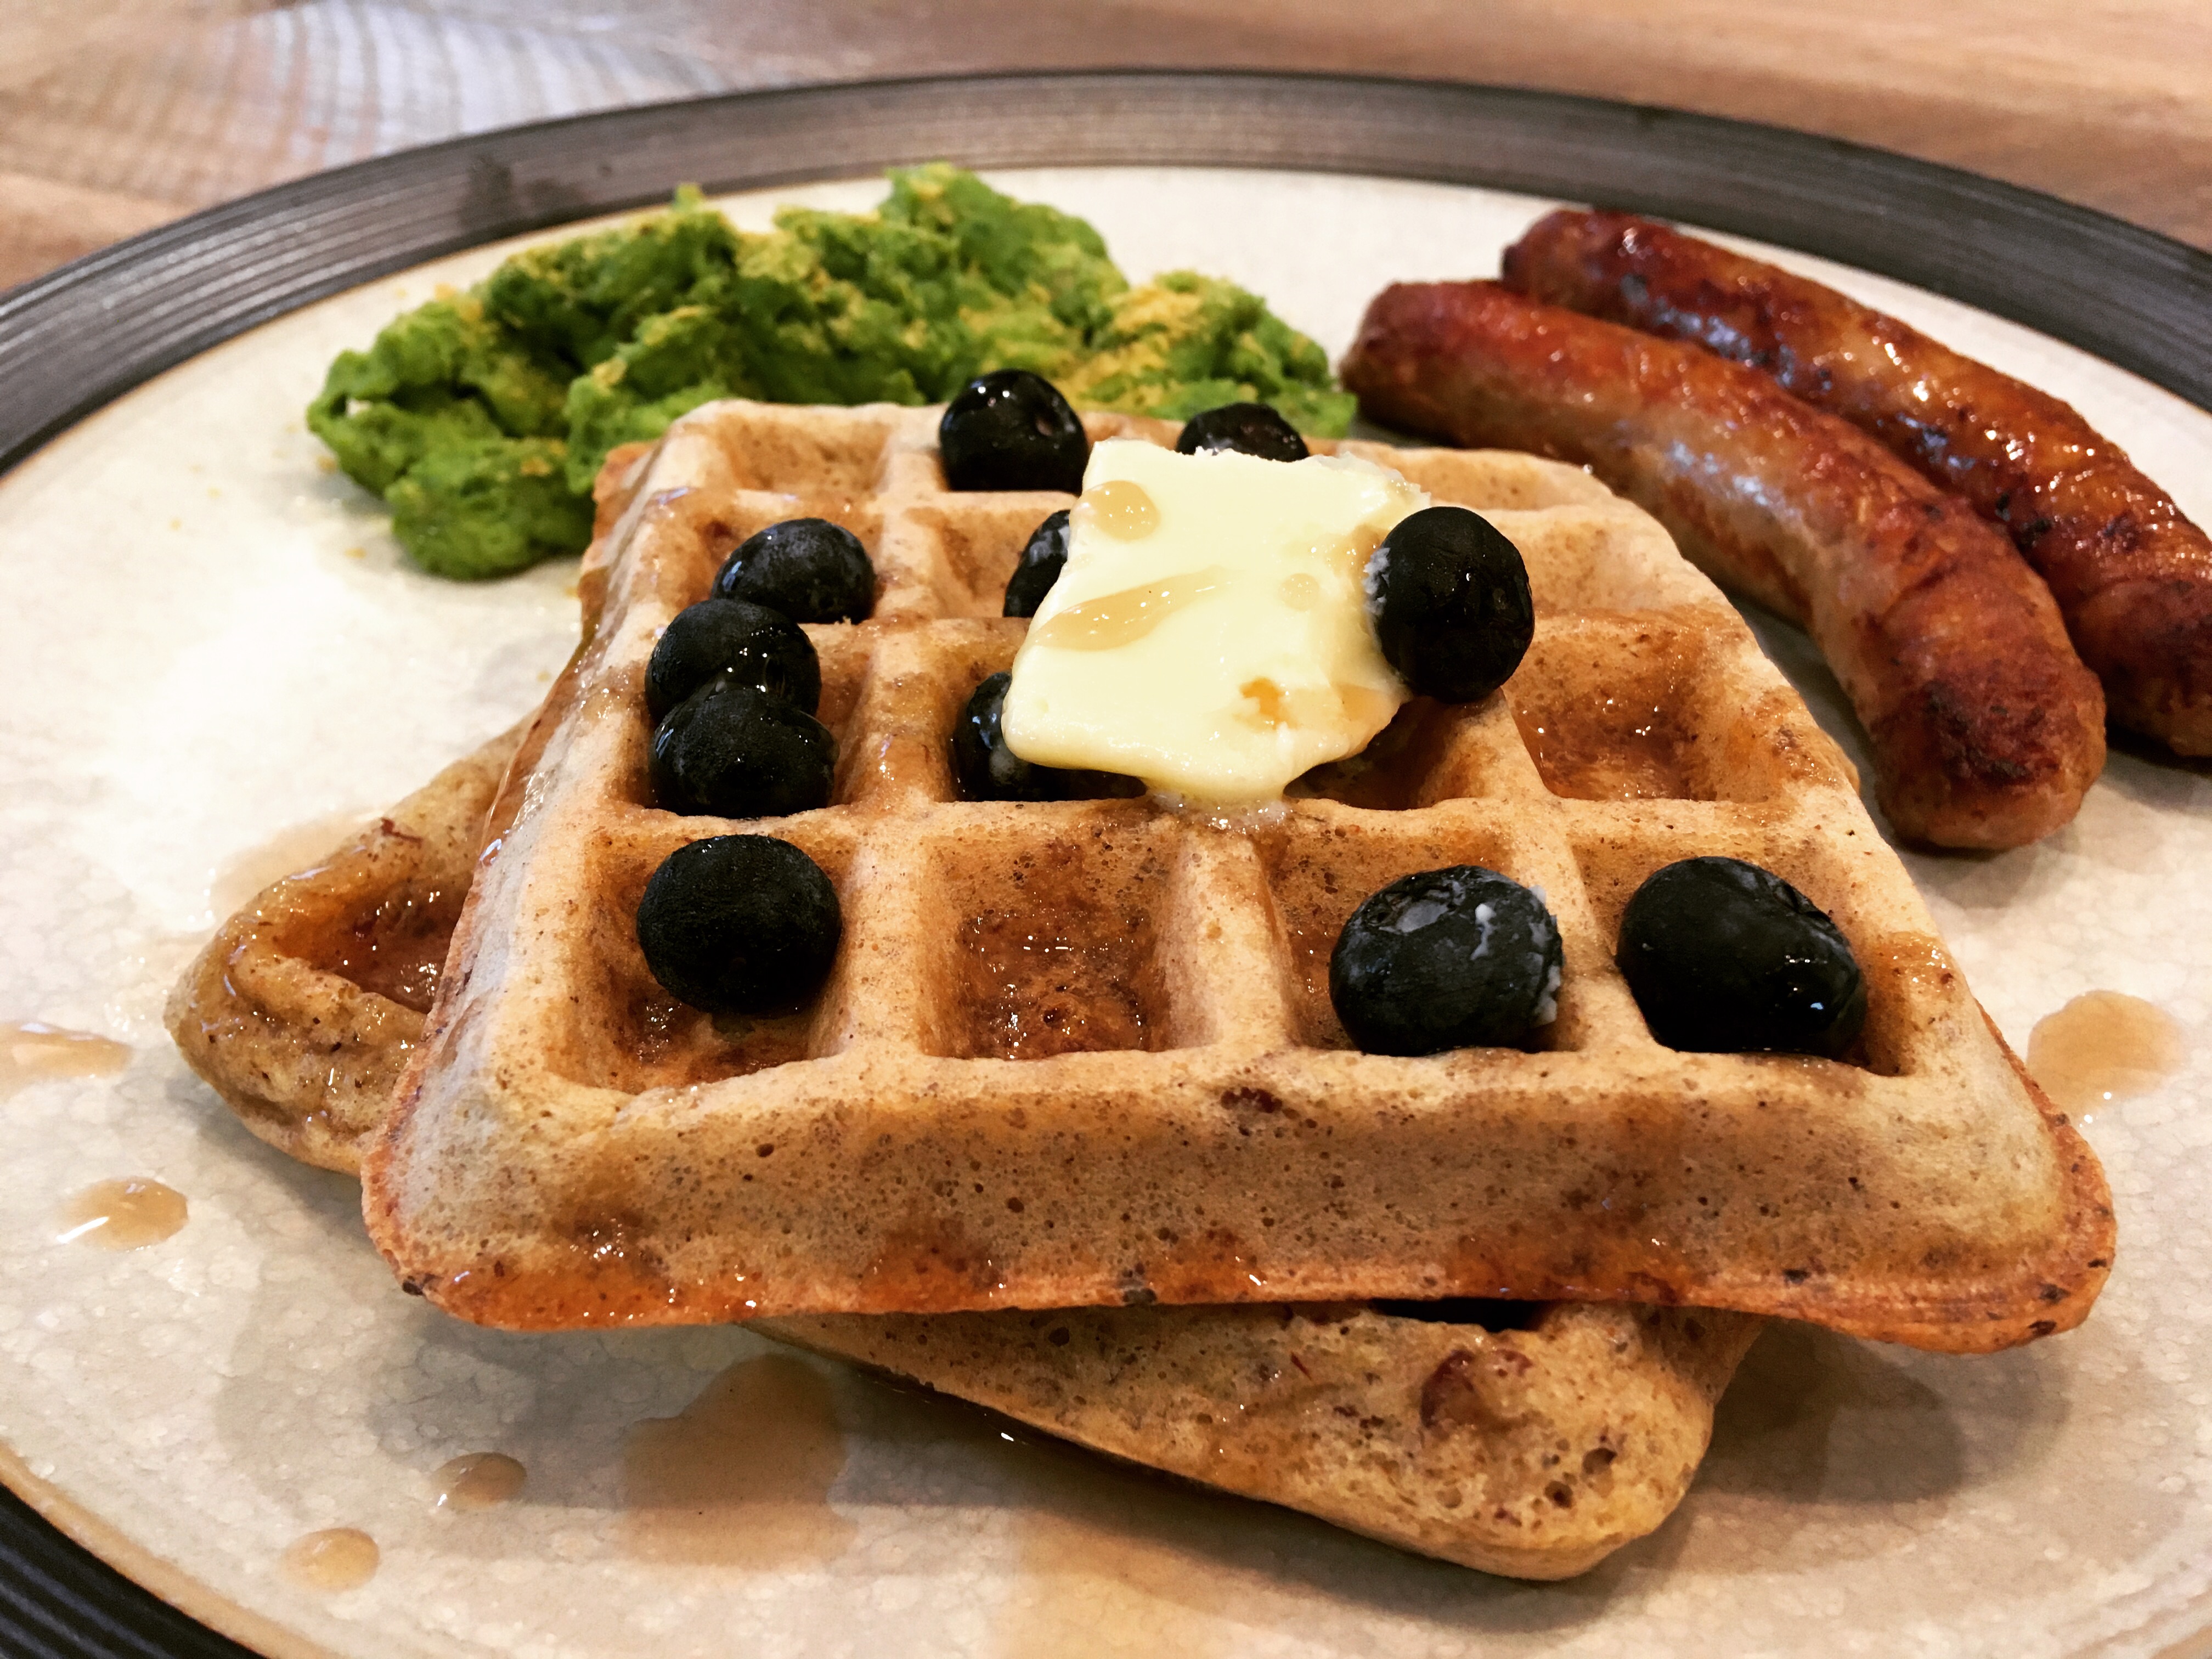
Low Carb Keto/Paleo Waffles
December 9, 2017
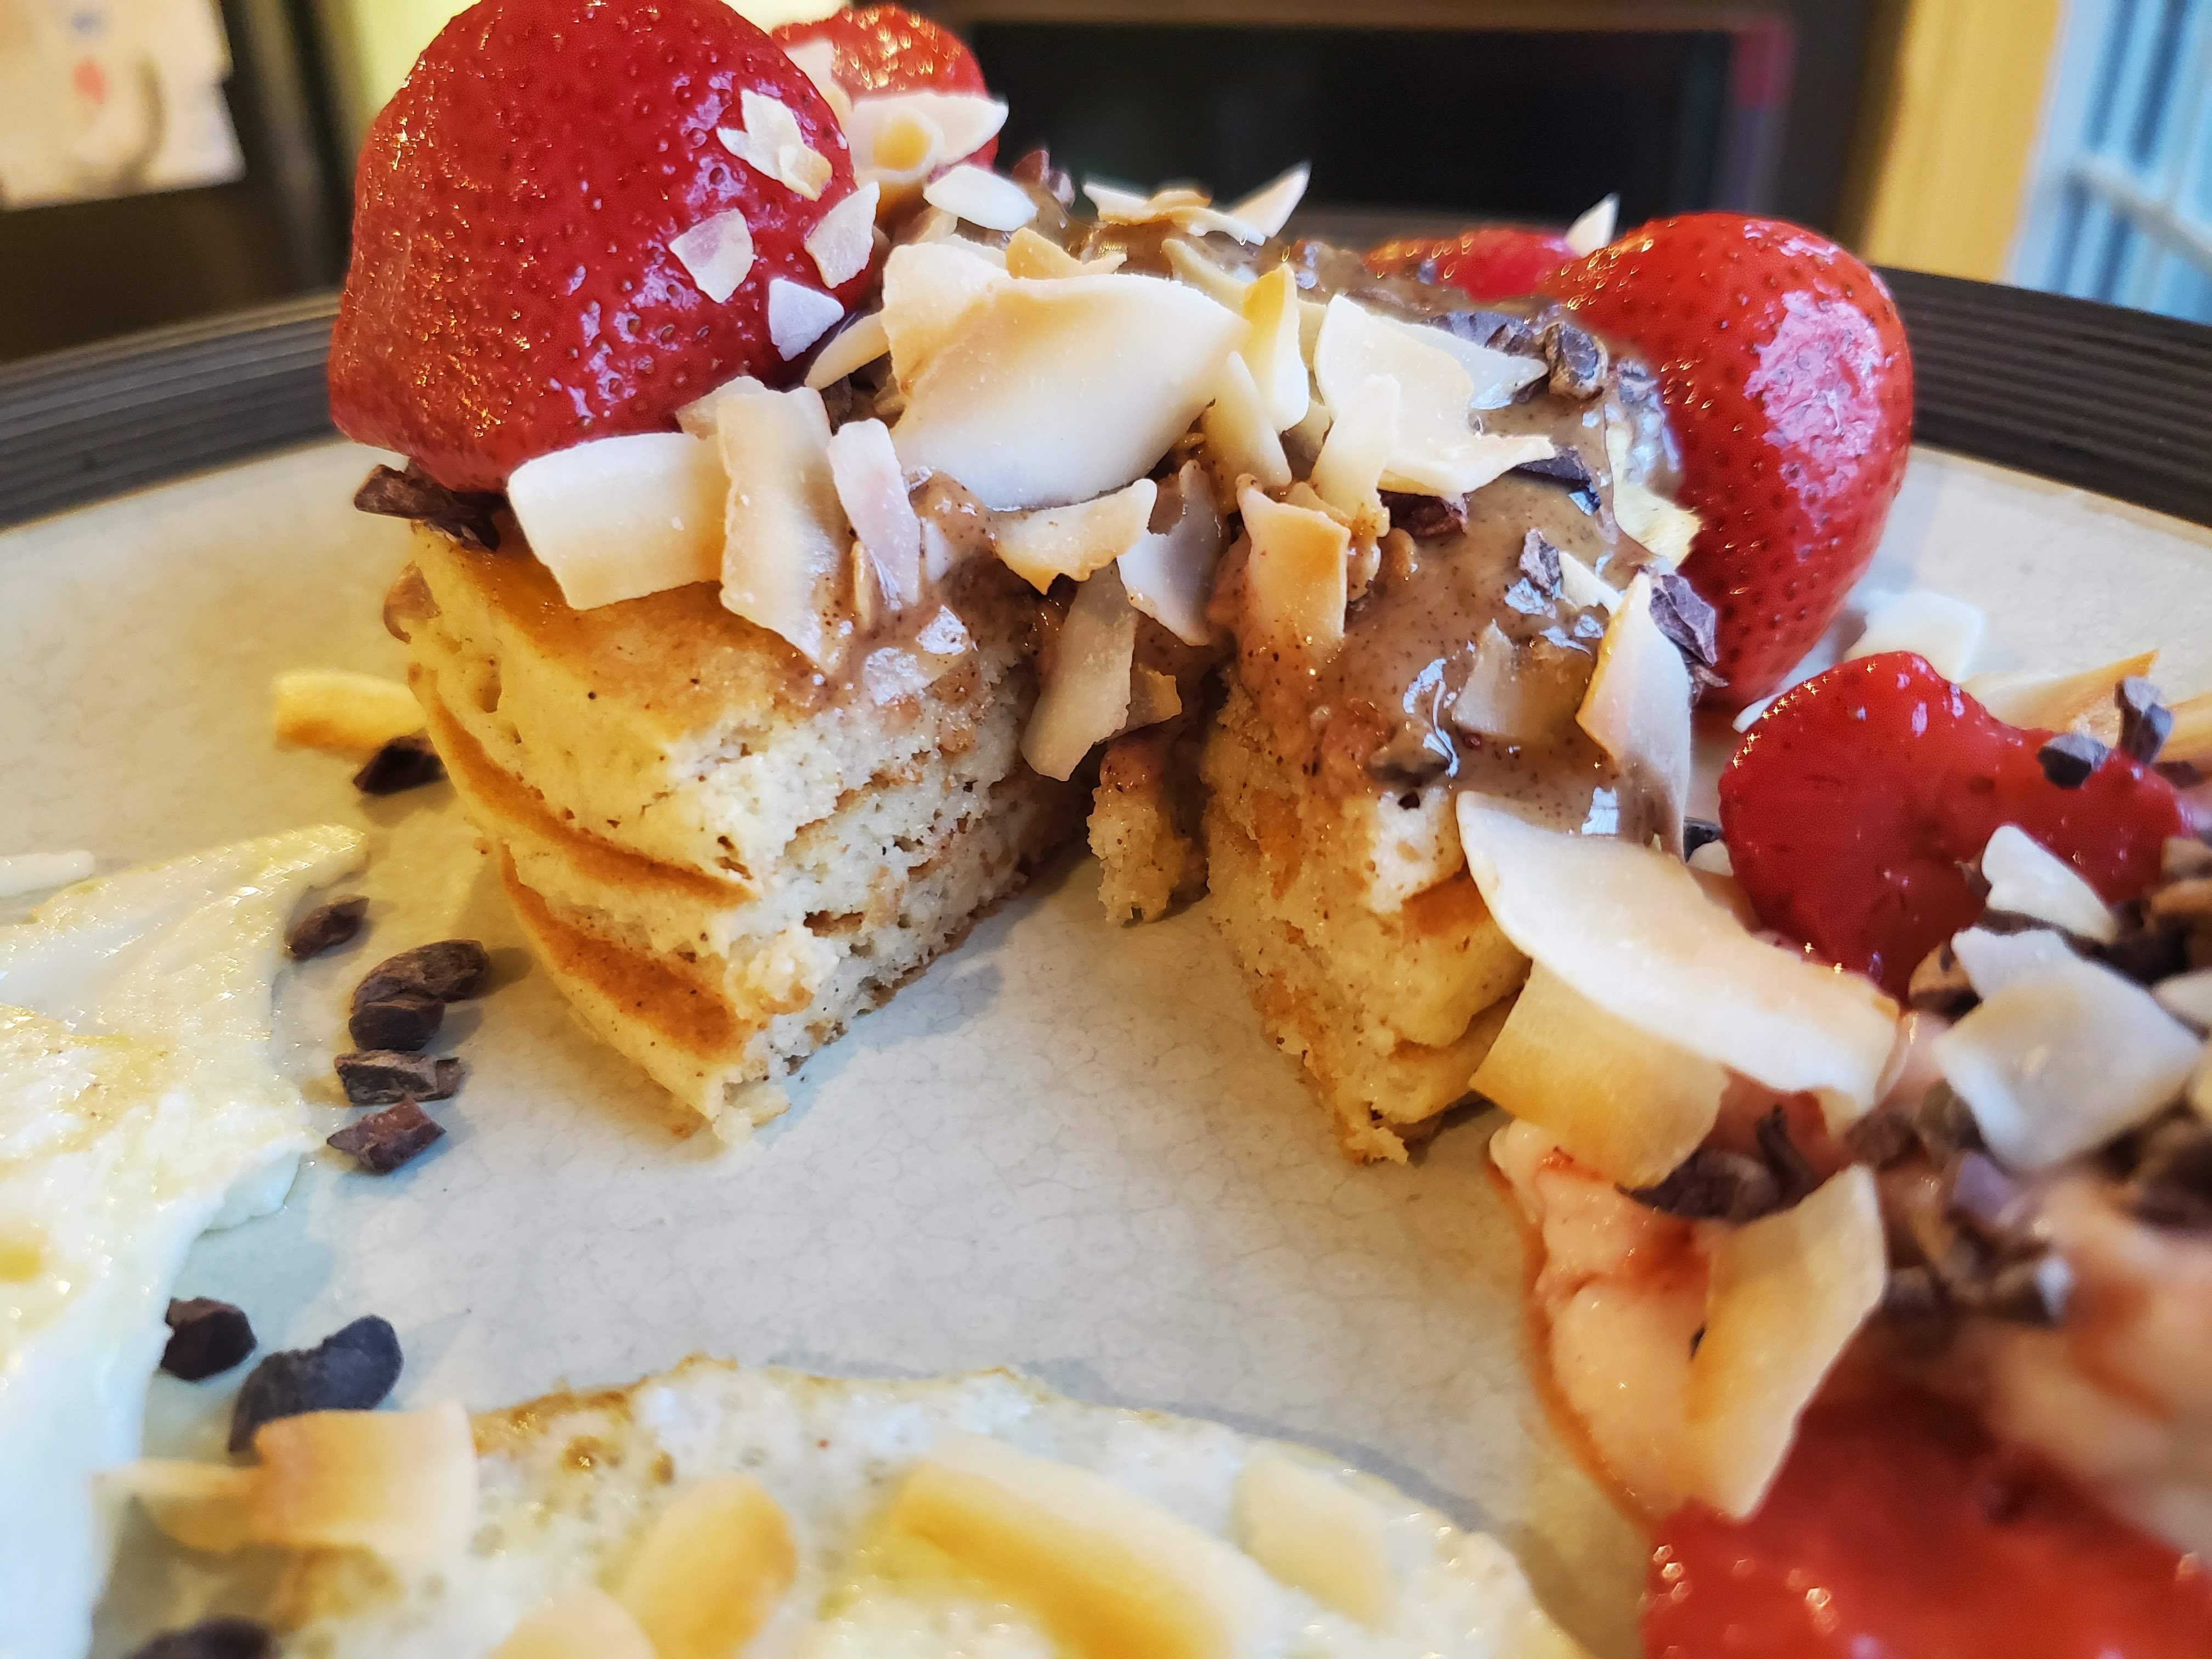
Almond Flour Keto Pancakes
Loading Comments...
Write a Comment...
Email (Required)
Name (Required)
Website